
THE DREAMIEST DESSERT
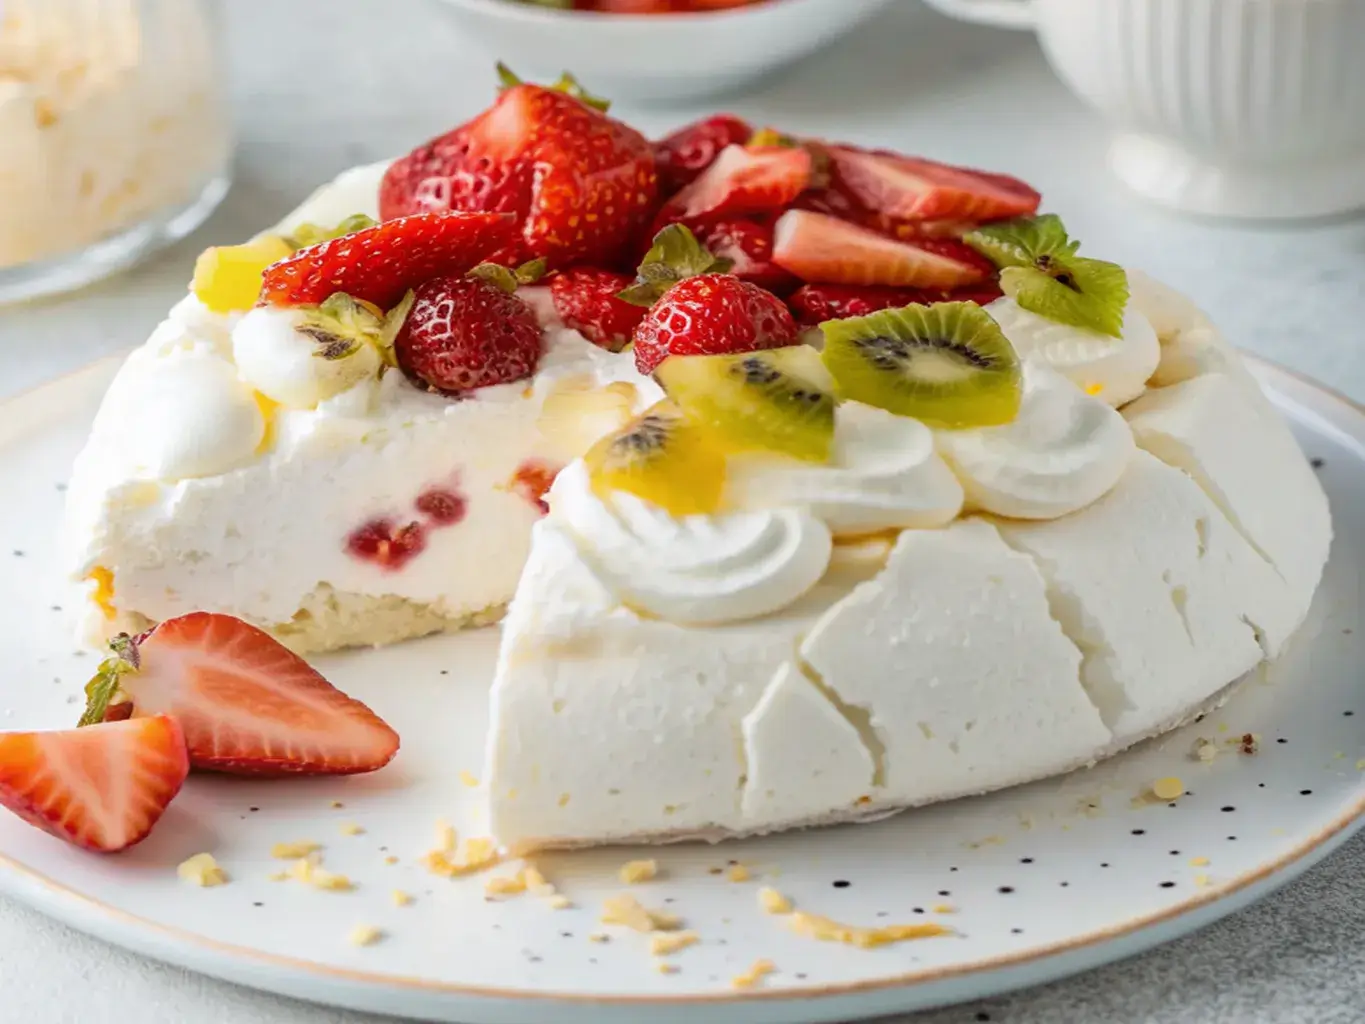
Pavlova recipe for a dessert that looks like a soft, billowy cloud, featuring a delicate, crisp shell that gives way to a soft, marshmallow-like center. This stunning masterpiece is traditionally topped with pillowy whipped cream and a riot of fresh, juicy fruit. While it may seem like a dessert reserved for professional pastry chefs, I am here to show you that it is absolutely achievable in your own kitchen. Today, I am sharing my tried and true, foolproof method that will guide you to creating this magical confection with confidence.
Print
Pavlova Recipe for a Perfect Gluten-Free Dessert
- Total Time: 1 hour 35 minutes (plus cooling)
- Yield: 8 servings 1x
Description
A delicate meringue dessert with a crisp outer shell and marshmallow-like center, topped with whipped cream and fresh fruit for a light and elegant treat.
Ingredients
- 4 large egg whites, room temperature
- 1 cup granulated sugar
- 1 teaspoon cornstarch
- 1 teaspoon white vinegar or lemon juice
- 1 teaspoon vanilla extract
- For the topping:
- 1 cup heavy cream
- 2 tablespoons powdered sugar
- 1 teaspoon vanilla extract
- Fresh fruit (berries, kiwi, passionfruit, mango)
Instructions
- 1. Preheat oven to 250°F (120°C). Line a baking sheet with parchment paper and draw an 8-inch circle as a guide.
- 2. In a clean, dry bowl, beat egg whites until soft peaks form.
- 3. Gradually add sugar, 1 tablespoon at a time, beating until stiff, glossy peaks form and sugar is fully dissolved.
- 4. Gently fold in cornstarch, vinegar, and vanilla.
- 5. Spoon meringue onto parchment, spreading to fill the circle and shaping edges slightly higher than the center to form a nest.
- 6. Bake for 1 hour 15 minutes, then turn off oven and let pavlova cool completely inside oven with the door slightly ajar.
- 7. Whip heavy cream with powdered sugar and vanilla until soft peaks form.
- 8. Top cooled pavlova with whipped cream and fresh fruit just before serving.
Notes
- Make sure the bowl and beaters are grease-free for best meringue volume.
- Cool the pavlova in the oven to prevent cracking.
- Assemble just before serving to keep the meringue crisp.
- Prep Time: 20 minutes
- Cook Time: 1 hour 15 minutes
- Category: Dessert
- Method: Baking
- Cuisine: Australian, New Zealand
Nutrition
- Serving Size: 1 slice
- Calories: 210
- Sugar: 28g
- Sodium: 35mg
- Fat: 9g
- Saturated Fat: 6g
- Unsaturated Fat: 2g
- Trans Fat: 0g
- Carbohydrates: 32g
- Fiber: 1g
- Protein: 3g
- Cholesterol: 35mg
Keywords: pavlova, meringue dessert, whipped cream, fruit topping
WHY YOU WILL LOVE THIS PAVLOVA RECIPE
You will absolutely adore this pavlova recipe for so many reasons. First and foremost, the presentation is breathtaking. Bringing a pavlova to the table always elicits gasps of delight from guests. Secondly, the texture is pure magic, a satisfying crackle on the outside giving way to a soft and sweet interior. Furthermore, this dessert is surprisingly simple to make, requiring just a handful of basic pantry ingredients. Best of all, the meringue base can be baked days in advance, making it the ultimate make-ahead dessert for stress-free entertaining. And because it is made without any flour, this pavlova recipe is naturally gluten-free, so everyone can enjoy a slice.
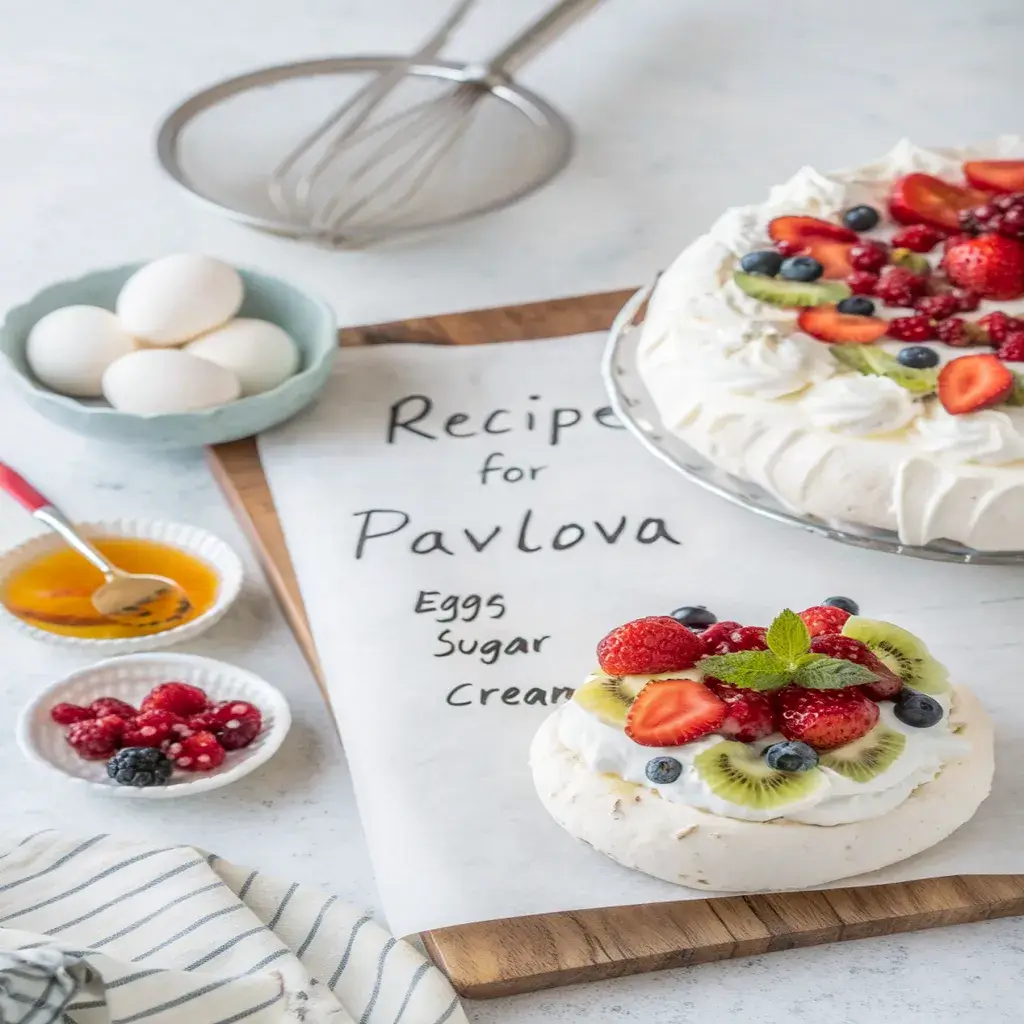
YOUR FOOLPROOF PAVLOVA RECIPE INGREDIENTS
The ingredient list is beautifully short, but each component plays a critical role. Using the right ingredients is the first secret to success.
- 4 large egg whites, at room temperature: Room temperature whites whip up much higher and faster than cold ones.
- 1 cup (200g) superfine sugar (caster sugar): This finer sugar dissolves more easily into the meringue, preventing a gritty texture. You can make your own by pulsing regular granulated sugar in a blender.
- 1 teaspoon white vinegar or lemon juice: This is the secret weapon! The acid helps stabilize the egg whites and gives the pavlova its signature marshmallowy center.
- 2 teaspoons cornstarch: This further stabilizes the meringue and helps keep the inside soft.
- 1 teaspoon pure vanilla extract: For a beautiful, warm flavor.
- A pinch of fine salt: To balance the sweetness and enhance the flavor.
HOW TO MAKE THE PERFECT PAVLOVA: STEP BY STEP
Follow these steps carefully for a perfect, crack free pavlova every single time.
Step 1: Prepare
Preheat your oven to 250°F (120°C). Line a large baking sheet with parchment paper. You can trace a 8 or 9 inch circle on the parchment as a guide for shaping, then flip it over. Ensure your mixing bowl and whisk attachment are impeccably clean and completely grease free. Any trace of fat will prevent the egg whites from whipping properly.
Step 2: Whip the Egg Whites
Place the room temperature egg whites and salt in your clean bowl. Using an electric mixer with a whisk attachment, beat on medium high speed until soft peaks form. This means when you lift the whisk, the peaks will curl over at the tips.
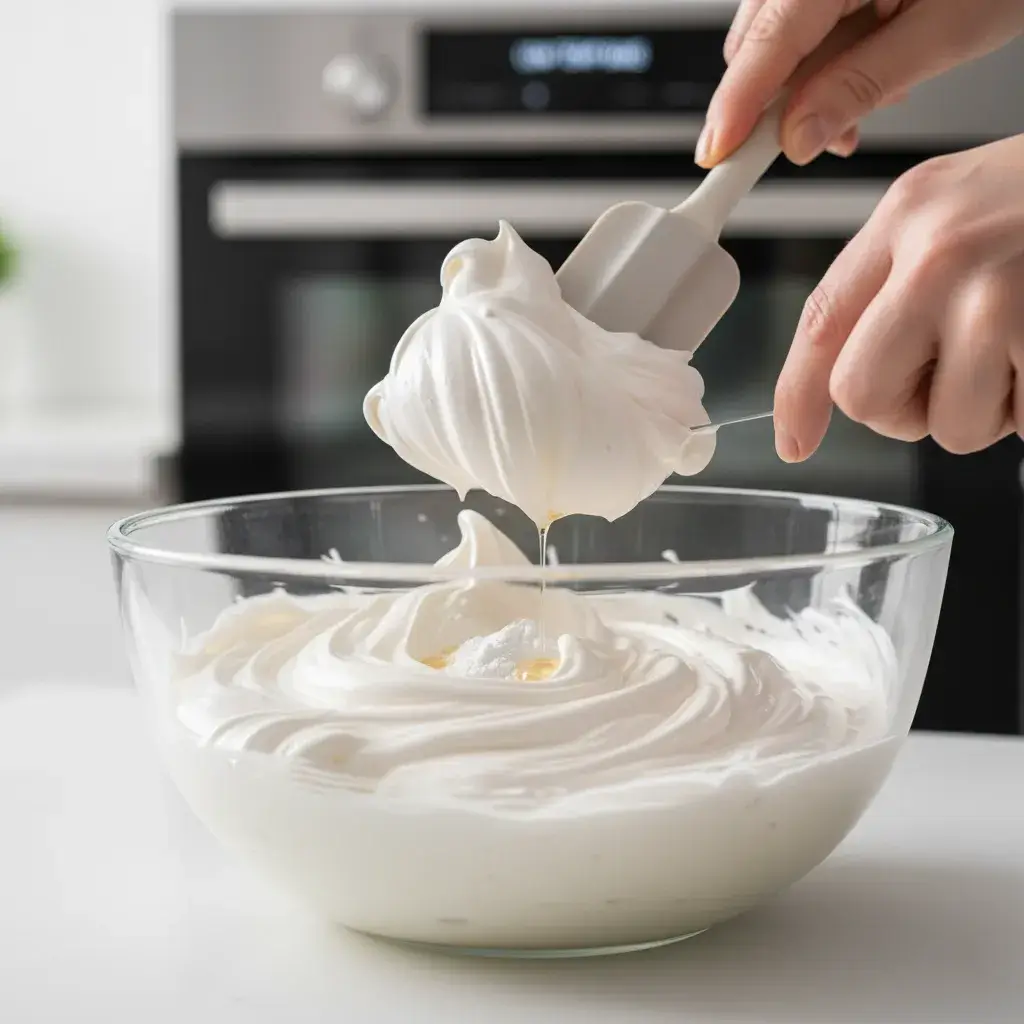
Step 3: Add the Sugar
Now, increase the mixer speed to high. Begin adding the superfine sugar, just one tablespoon at a time, allowing each spoonful to fully incorporate before adding the next. This patience is key to dissolving the sugar and creating a thick, glossy, and stable meringue. Once all the sugar is added, continue whipping for 4-5 minutes until the meringue is very thick, glossy, and stiff peaks form. The meringue should feel smooth, not gritty, when rubbed between your fingers.
Step 4: Fold in Stabilizers
Sprinkle the vinegar, cornstarch, and vanilla extract over the surface of the meringue. Using a spatula, gently fold these ingredients in until they are just combined and no streaks remain. Be careful not to over mix and deflate the meringue.
Step 5: Shape the Pavlova
Spoon the meringue onto your prepared parchment paper into a circle, using your traced guide. Use the back of a spoon to shape the meringue and create a well in the center for the toppings later. This well will help hold the whipped cream and fruit beautifully.
Step 6: Bake and Cool
Place the pavlova in the preheated oven and immediately reduce the temperature to 200°F (90°C). Bake for 1 hour and 30 minutes. When done, the outside should be dry and sound hollow when lightly tapped. The key next step is to turn off the oven, crack the oven door open, and let the pavlova cool completely inside the oven. This slow cooling helps prevent cracking and sinking.
NUTRITION AND HEALTH CONSIDERATIONS

- This pavlova recipe is a true celebratory dessert.
- It is light and airy, yet contains a considerable amount of sugar.
- Naturally gluten free, it’s an excellent choice for people with celiac disease or gluten intolerance.
- The structure of the dessert comes almost entirely from egg whites, which are also a good source of protein.
- Adding fresh fruit and a modest amount of whipped cream provides extra vitamins, antioxidants, and calcium.
- For a lighter variation, you can gently sweeten the whipped cream or replace it with a Greek yogurt blend.
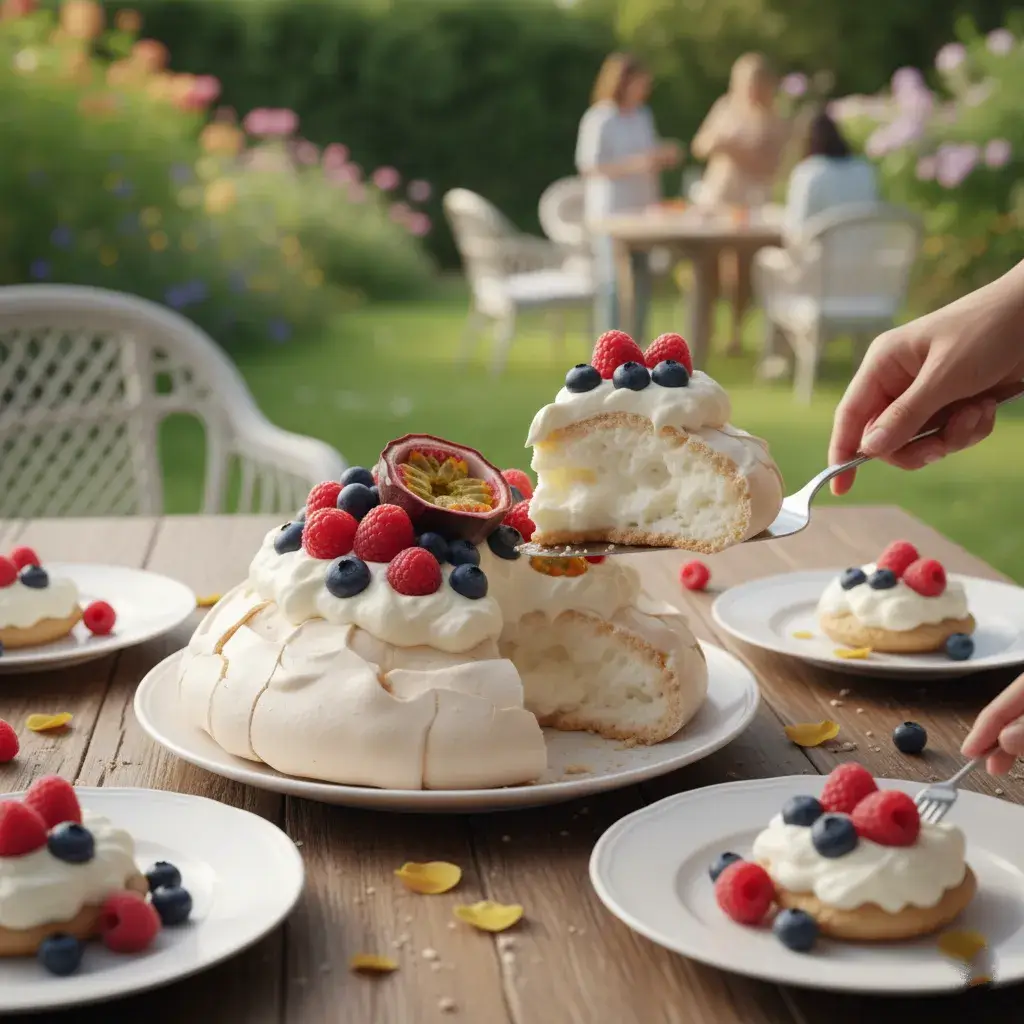
HOW TO SERVE YOUR STUNNING PAVLOVA
The classic and most beautiful way to serve your pavlova is with a generous layer of softly whipped cream and a colorful assortment of fresh fruit. Think sliced strawberries, kiwi, raspberries, blueberries, and passionfruit for a tropical twist. The vibrant red of raspberries against the white cream and snow white meringue is simply stunning. Always assemble the pavlova just before you are ready to serve it. This ensures the meringue shell stays crisp and doesn’t become soggy from the moisture of the toppings. Use a large, sharp knife to slice it, pushing down firmly through the crisp shell.
HOW TO STORE LEFTOVERS (IF YOU HAVE ANY!)
The plain, cooled meringue base (without toppings) can be stored beautifully. Keep it in an airtight container at cool room temperature for up to 3 days. Do not refrigerate the plain meringue, as this will cause it to become soft and sticky. Once topped with cream and fruit, the pavlova is best eaten immediately. Any leftovers will become soft and moist, but they are still delicious. Cover them loosely and store in the refrigerator for up to a day.
TIPS AND NOTES: YOUR KITCHEN COMPANION
Details: The importance of a clean bowl cannot be overstated. Even a tiny bit of grease or egg yolk will prevent the whites from reaching their full volume. Wiping the bowl with a little lemon juice or vinegar before starting can help ensure it is grease free.
Variation:
- Mini Pavlovas: Drop large spoonfuls of meringue onto the baking sheet to create individual servings. Reduce the baking time to about 45 minutes to 1 hour.
- Chocolate Pavlova: Sift 2 tablespoons of unsweetened cocoa powder into the meringue along with the cornstarch.
- Citrus Twist: Fold the zest of one lemon or orange into the meringue at the final stage for a bright, zesty flavor.
Notes: Humidity is the enemy of meringue. Avoid making pavlova on a very rainy or humid day, as the meringue can absorb moisture from the air and become sticky.
PAVLOVA RECIPE FAQS
What is the secret to a good pavlova?
The secrets are using room temperature egg whites, adding the sugar very slowly, incorporating acid (vinegar/lemon juice) and cornstarch for stability, and most importantly, letting it cool slowly in the turned off oven.
What is the difference between a meringue and a pavlova?
While both are made from whipped egg whites and sugar, a pavlova includes vinegar and cornstarch. This creates a unique texture: a crisp outer shell with a soft, marshmallow like interior. Traditional meringue is typically crisp all the way through.
Is pavlova ok for celiacs?
Yes! A classic pavlova recipe contains no flour or gluten containing ingredients, making it a naturally gluten free dessert. Always check the labels of your toppings (like vanilla extract) to be safe.
What are the three ingredients in pavlova?
At its most basic, pavlova is made from just egg whites, sugar, and an acid (like vinegar or lemon juice). Cornstarch and vanilla are common additions that improve texture and flavor, but the core trio is egg whites, sugar, and acid.
YOUR SHOWSTOPPING MASTERPIECE
I hope this pavlova recipe has demystified this magnificent dessert for you. It is a project filled with sweet rewards. Do not let its elegant appearance intimidate you. With a little care and these simple steps, you can create a showstopping masterpiece that will dazzle your family and friends. So preheat your oven, separate those eggs, and get ready to create something truly magical. I promise, the look on your guests faces will be worth every minute. Happy baking