
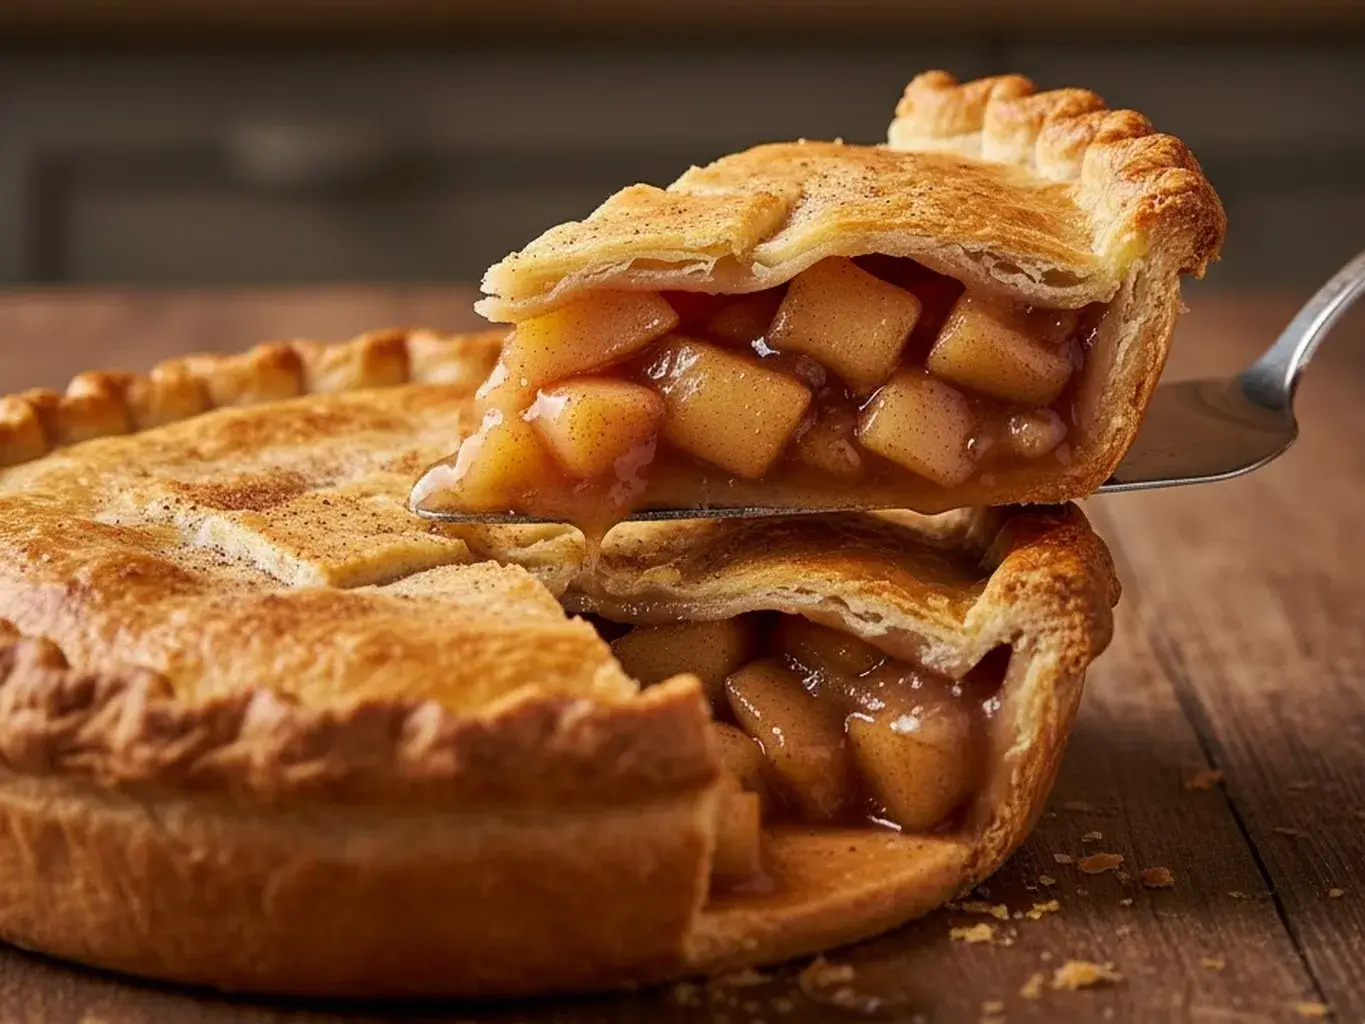
There’s a certain magic in a truly flaky pie crust recipe. You know the one. It shatters into a thousand buttery, delicate layers when you slice into it, and it tastes like a warm, homemade hug. For years, I was terrified of making my own.
I believed the myth that it was a finicky, expert-level task. But I’m here to let you in on a life-changing secret: a perfect, flaky pie crust recipe is not only achievable, it’s incredibly simple. This method is my forever go-to, and after you try it, I promise it will be yours, too.
WHY YOU’LL LOVE THIS FLAKY PIE CRUST RECIPE
You will fall in love with this recipe because it consistently delivers perfection.
- Firstly, it comes together in just minutes with minimal effort.
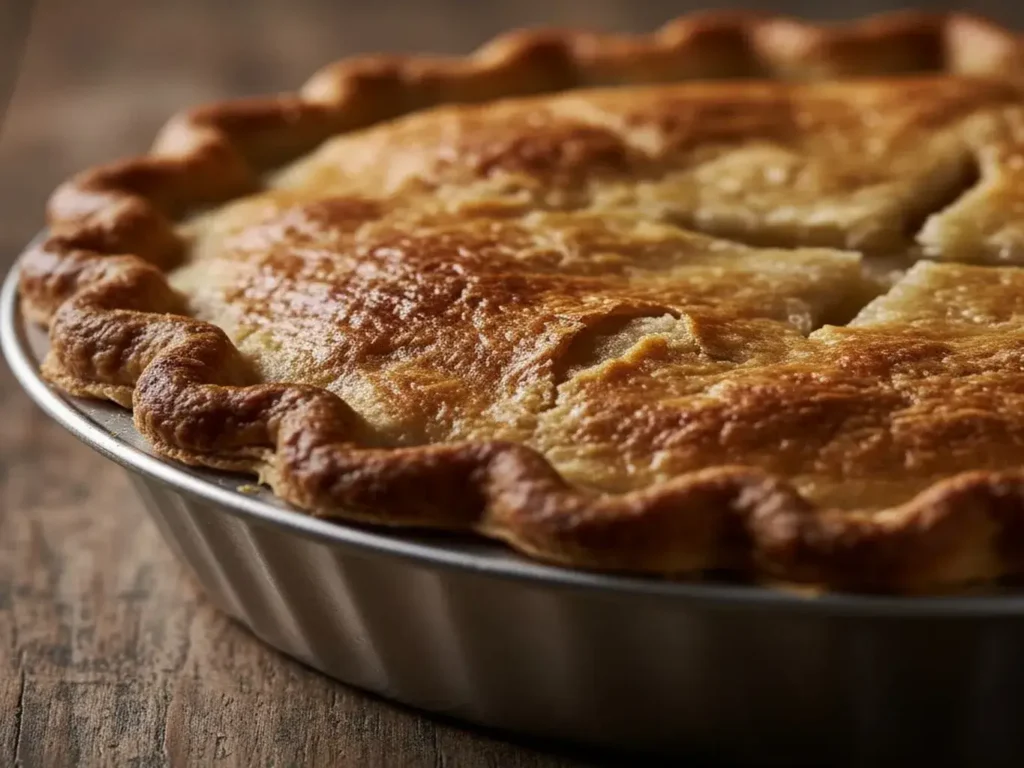
- Secondly, it bakes up into a crust that is both tender and strikingly flaky.
- Furthermore, it uses a straightforward, no-fuss technique that banishes the fear of overworking the dough.
- Ultimately, this recipe is your ticket to pie-making confidence.

Flaky Pie Crust Recipe for Perfect Pies Every Time
- Total Time: 40 minutes
- Yield: 2 pie crusts 1x
- Diet: Vegetarian
Description
This classic Flaky Pie Crust Recipe makes a tender, buttery crust perfect for sweet or savory pies simple and foolproof every time.
Ingredients
- 2 1/2 cups all-purpose flour
- 1 tsp salt
- 1 cup (2 sticks) unsalted butter, cold and cut into cubes
- 1/4 to 1/2 cup ice water
- 1 tbsp vinegar or lemon juice (optional, for tenderness)
Instructions
- 1. In a large bowl, whisk together flour and salt.
- 2. Cut in cold butter using a pastry cutter or your fingers until the mixture resembles coarse crumbs with pea-sized pieces of butter.
- 3. Sprinkle in ice water, 1 tablespoon at a time, mixing gently with a fork until dough just comes together.
- 4. Divide dough into two equal portions, shape into discs, and wrap in plastic wrap.
- 5. Chill for at least 1 hour before rolling out.
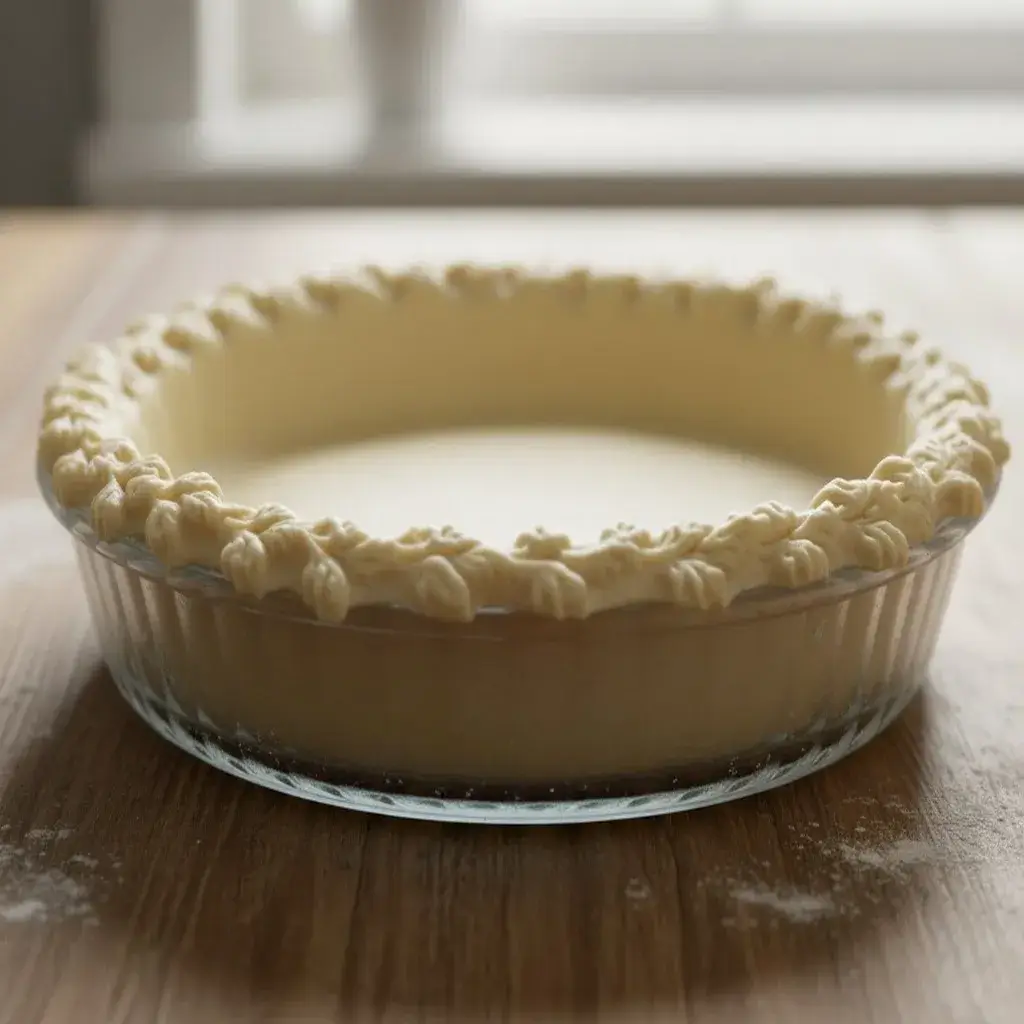
- 6. On a lightly floured surface, roll dough to fit your pie dish.
- 7. Transfer to the dish, trim edges, and crimp as desired.
- 8. For a baked crust, prick the bottom with a fork, line with parchment, fill with pie weights, and bake at 375°F (190°C) for 15 minutes. Remove weights and bake 10 more minutes until golden.
Notes
- Keep butter cold this is the key to flaky layers.
- If dough feels too dry, add a teaspoon of water at a time; if sticky, sprinkle with a bit more flour.
- Can be made ahead and refrigerated for 3 days or frozen up to 3 months.
- Prep Time: 15 minutes
- Cook Time: 25 minutes
- Category: Baking
- Method: Handmade
- Cuisine: American
Nutrition
- Serving Size: 1/8 of crust
- Calories: 230
- Sugar: 0g
- Sodium: 180mg
- Fat: 16g
- Saturated Fat: 10g
- Unsaturated Fat: 6g
- Trans Fat: 0g
- Carbohydrates: 19g
- Fiber: 1g
- Protein: 3g
- Cholesterol: 40mg
Keywords: flaky pie crust, homemade pie dough, butter pie crust
HOW TO MAKE FLAKY PIE CRUST
The secret to a flaky crust is all in the technique. We’re not making a bread dough; we’re creating little pockets of fat that will steam in the oven, pushing the layers apart. It’s a beautiful, simple science.
INGREDIENTS:
- 2 ½ cups all-purpose flour, plus more for dusting
- 1 teaspoon salt
- 1 tablespoon granulated sugar (optional, for a hint of sweetness)
- 1 cup (2 sticks) unsalted European-style butter, very cold and cubed
- ¼ to ½ cup ice water
DIRECTIONS:
STEP 1: PREPARE YOUR BUTTER AND FLOUR
Start by placing your flour, salt, and sugar (if using) into a large food processor. Pulse a couple of times to combine. Alternatively, you can use a pastry blender or your fingertips for this next part. Then, add your very cold, cubed butter.
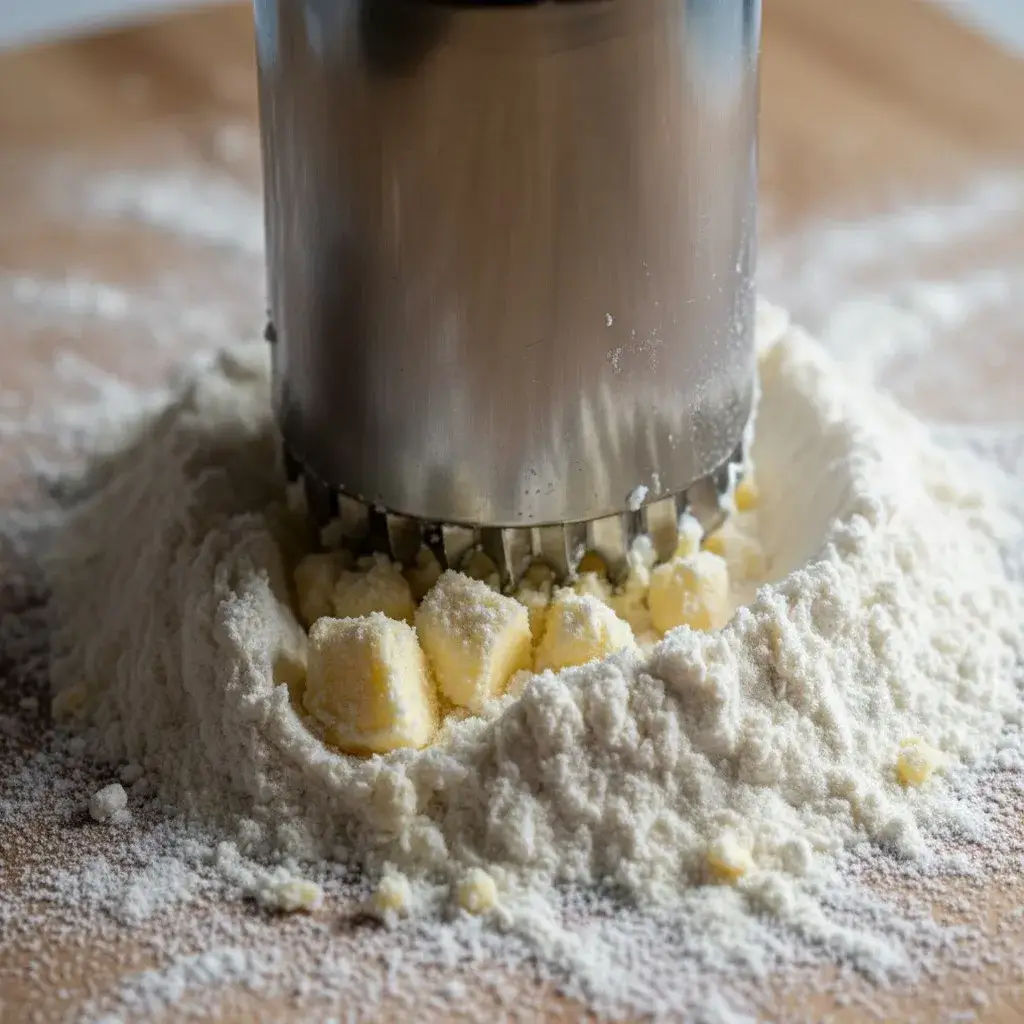
STEP 2: CUT IN THE BUTTER
Pulse the food processor in short, 1-second bursts until the mixture resembles a coarse meal with some pea-sized pieces of butter remaining. These visible butter pieces are the key to flakiness! If doing this by hand, use a pastry blender or your fingers to quickly rub the butter into the flour until you achieve the same texture.
STEP 3: ADD THE ICE WATER
Sprinkle ¼ cup of ice water over the flour-butter mixture. Pulse or stir with a fork just until the dough begins to clump together. When you pinch a bit of dough, it should hold together. If it seems too dry, add more ice water, one tablespoon at a time. Be careful not to add too much.
STEP 4: BRING THE DOUGH TOGETHER
Turn the crumbly dough out onto a clean surface. Gently gather and press it together until it forms two cohesive discs. Do not knead it like bread dough! You should still see streaks of butter.
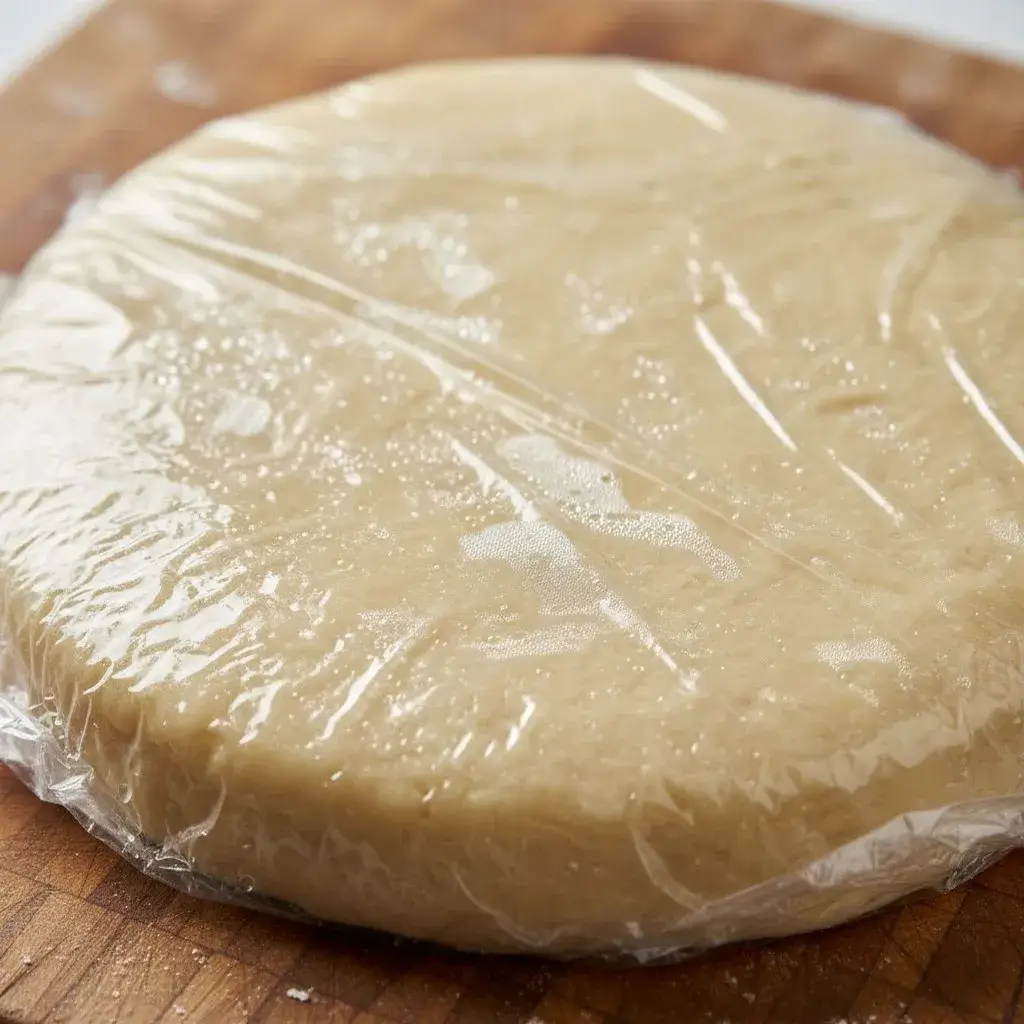
STEP 5: CHILL AND REST
Wrap each disc tightly in plastic wrap and refrigerate for at least 1 hour, or up to 2 days. This crucial step allows the gluten to relax and the butter to firm up again, ensuring a tender, flaky crust that won’t shrink excessively in the oven.
IS A NUTRITION HERO (FLOUR, FAT, AND WATER)?
A homemade pie crust, enjoyed in moderation, can be part of a balanced diet. Its foundational ingredients are simple and purposeful flour for energy and butter for essential vitamins. For a healthier twist, try using whole wheat pastry flour to increase the fiber content.
The greatest benefit of making it yourself is the certainty of what’s inside, allowing you to skip the artificial preservatives and unhealthy hydrogenated fats found in many store-bought versions.
GREAT FOR WEIGHT MANAGEMENT (VARIATIONS)
When incorporating a flaky pie crust recipe into a mindful diet, focus on portion control and filling choices. A good homemade crust is better than a store-bought one loaded with questionable ingredients. To lighten it up:
- Substitute: Use a combination of whole wheat flour and all-purpose flour.
- Fat Choice: Swap half the butter for a neutral oil (like coconut or vegetable oil) or even Greek yogurt for a softer, slightly less flaky crust, reducing saturated fat.
- Filling: Choose lean, vegetable-heavy fillings like quiches, or fruit fillings with minimal added sugar.
HOW TO CHOOSE AND STORE INGREDIENTS
- Flour: Use fresh, all-purpose flour. Store it in an airtight container in a cool, dark place.
- Butter: Always use unsalted, high-quality butter for the best flavor. Freeze it for at least 30 minutes before starting for guaranteed coldness.
- Water: Use water that is ice-cold, ideally with a few ice cubes still floating in it.
EASY AND TASTY LOW-CAL RECIPES (PIE FILLINGS)
Pair your perfect flaky pie crust recipe with fillings that are lighter and just as delicious.
- Savory: Try a simple, crustless quiche filling baked into your crust: eggs, milk, spinach, and feta cheese.
- Sweet: A baked apple or berry filling with minimal added sugar lets the fruit’s natural sweetness shine. Use a small amount of cornstarch or arrowroot to thicken.
SWEET TREATS—THE HEALTHY WAY (SUGAR ALTERNATIVES)
For a healthier sweet pie, focus on two areas:
- The Filling: Reduce the granulated sugar slightly or substitute it entirely with natural alternatives like coconut sugar, maple syrup, or mashed ripe bananas.
- The Crust: Feel free to omit the sugar altogether, as it only promotes browning. If you prefer a hint of sweetness, a natural sweetener like liquid stevia works well. This substitution won’t impact the tender, flaky texture, which comes from the fat and flour.
DON’T FORGET THE SEEDS! (FOR CRUST VARIATION)
For a nutty, rustic twist on this flaky pie crust recipe, try incorporating ground flax seeds or chia seeds into your dry ingredients. They’ll add a boost of healthy omega-3 fatty acids and fiber.
- Variation: Substitute 1-2 tablespoons of the all-purpose flour with finely ground flax or chia seeds.
- Result: The crust will be slightly less white but will still be wonderfully flaky and more nutritious.
HOW TO SERVE FLAKY PIE CRUST
This versatile flaky pie crust recipe is the foundation for so many delicious desserts. Naturally, it’s perfect for a classic double-crust apple pie or a juicy cherry pie. Alternatively, use it for single-crust wonders like pumpkin pie, pecan pie, or a rich chocolate silk pie. Don’t forget savory applications, too! A quiche Lorraine or a chicken pot pie with this crust is an absolute game-changer.
HOW TO STORE FLAKY PIE CRUST
You can store the dough discs, tightly wrapped in plastic wrap, in the refrigerator for up to 2 days. For longer storage, place the wrapped discs in a freezer bag and freeze for up to 3 months. Thaw overnight in the refrigerator before rolling out. A fully baked and cooled pie crust can be stored at room temperature, tightly covered, for up to 2 days.
TIPS TO MAKE THE BEST FLAKY PIE CRUST
- Chill, Chill, Chill: The most important rule! If the dough gets warm at any point (while rolling, transferring), pop it back in the fridge for 10-15 minutes.
- Grate the Butter: For maximum flakiness, try grating the frozen butter on a box grater before tossing it into the flour. This ensures the smallest, most consistent pieces.
- Use a Food Processor (Carefully): You can pulse the flour and butter in a food processor until it resembles coarse meal, then slowly add water. Stop immediately when it comes together; over-processing creates a tough crust.
TIPS AND NOTES: YOUR KITCHEN COMPANION
Details:
- Keep Everything Cold: The number one rule. Your butter, your water, even your bowl should be cold. I sometimes even freeze my butter for 15 minutes before starting.
- Work Quickly: Handle the dough as little as possible with your warm hands.
- Visible Butter is Good: Don’t aim for a perfectly uniform dough. Those uneven bits of butter are what create steam and, consequently, flakiness.
Variation:
- All-Butter vs. Shortening: This is an all-butter crust for maximum flavor. For a slightly more tender, less flaky crust, you can substitute ½ cup of the butter with vegetable shortening.
Notes:
- If your dough cracks when you roll it, it’s too cold. Let it sit on the counter for 5-10 minutes.
- If your dough is sticky and soft, it’s too warm. Pop it back in the fridge for 20 minutes.
FLAKY PIE CRUST FAQs
Why did my pie crust turn out tough?
A tough crust is usually the result of overworking the dough, which develops too much gluten. Remember, you just want to bring the dough together, not knead it until it’s smooth.
Can I make this dough without a food processor?
Absolutely! A pastry blender is a fantastic tool for this job. You can also use two knives or even your fingertips, just be quick to avoid melting the butter with your hands
Do I need to blind bake the crust for my pie?
For custard-based pies (like pumpkin) or pies with a wet filling that doesn’t require baking (like cream pies), you will need to partially or fully blind bake (pre-bake) the crust first to prevent a soggy bottom.
FINAL THOUGHTS LET’S MAKE PIE!
I truly hope this flaky pie crust recipe unlocks a new world of baking joy for you. It has completely transformed my relationship with pie-making from one of anxiety to pure excitement. So go ahead, grab that cold butter, and trust the process. You are about to create something wonderfully delicious and deeply satisfying. Happy baking!