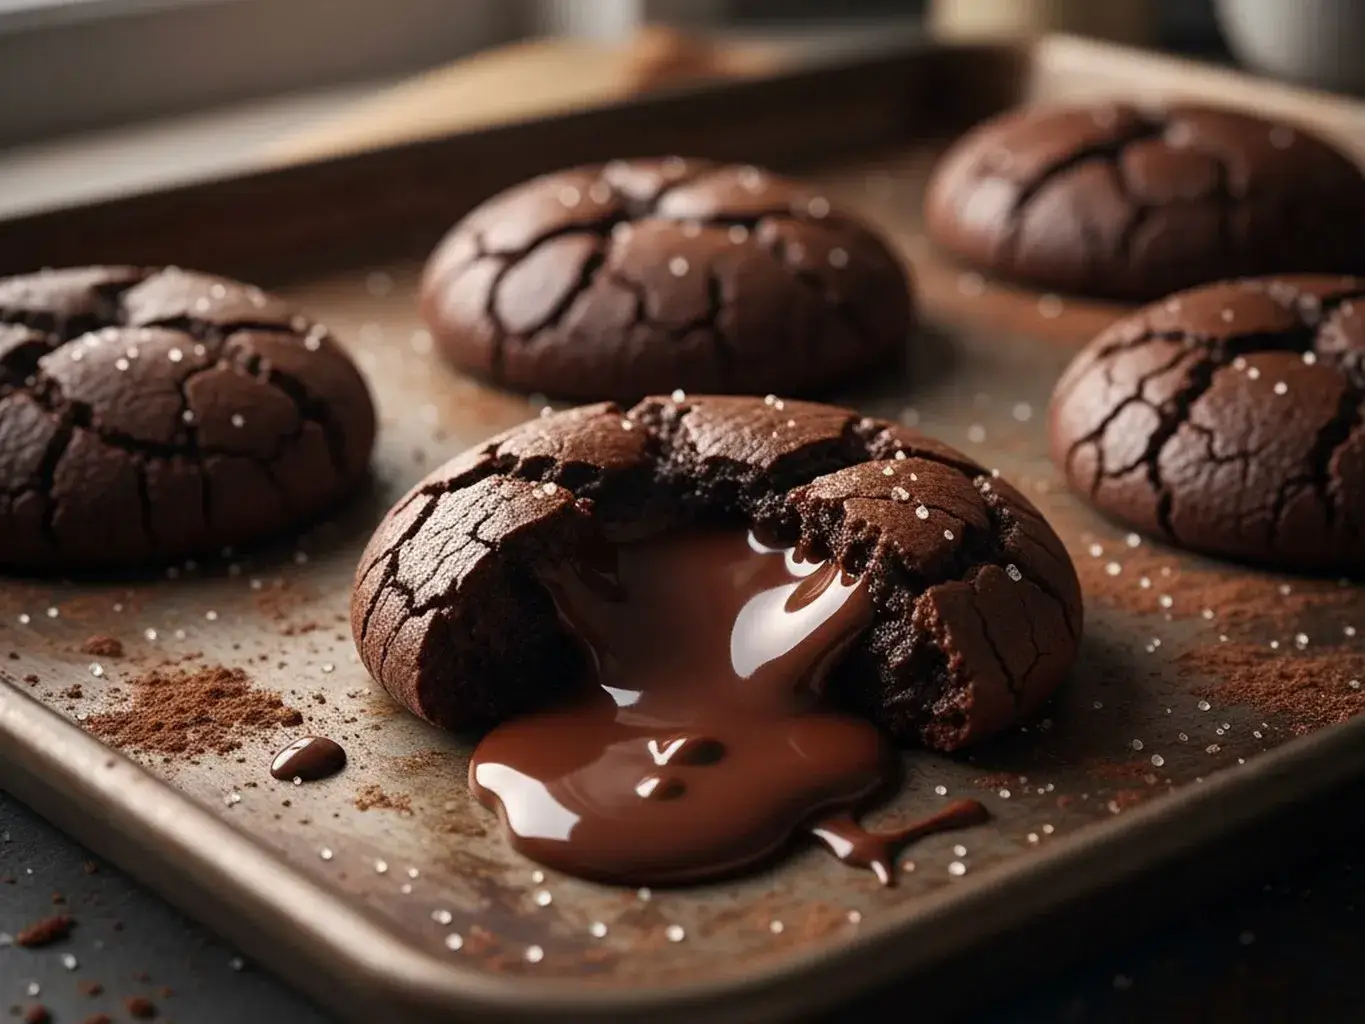
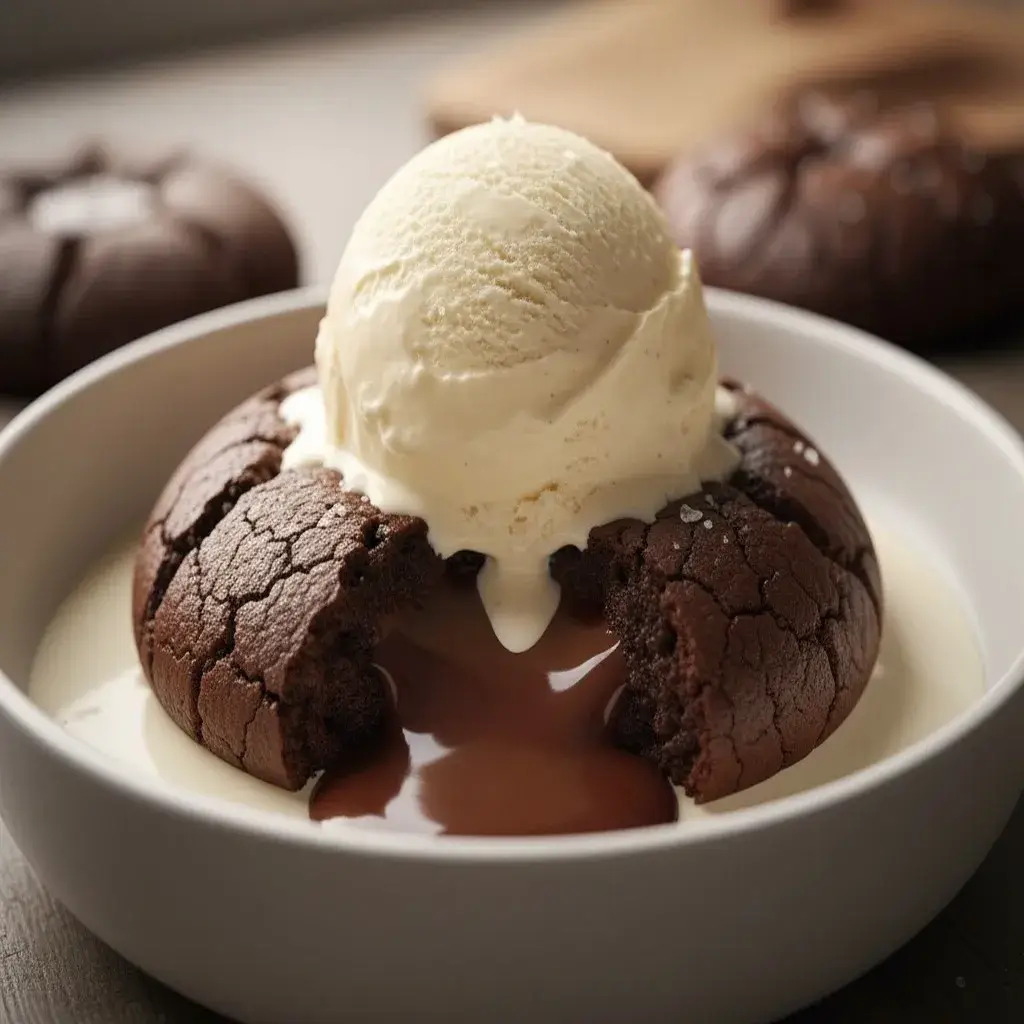
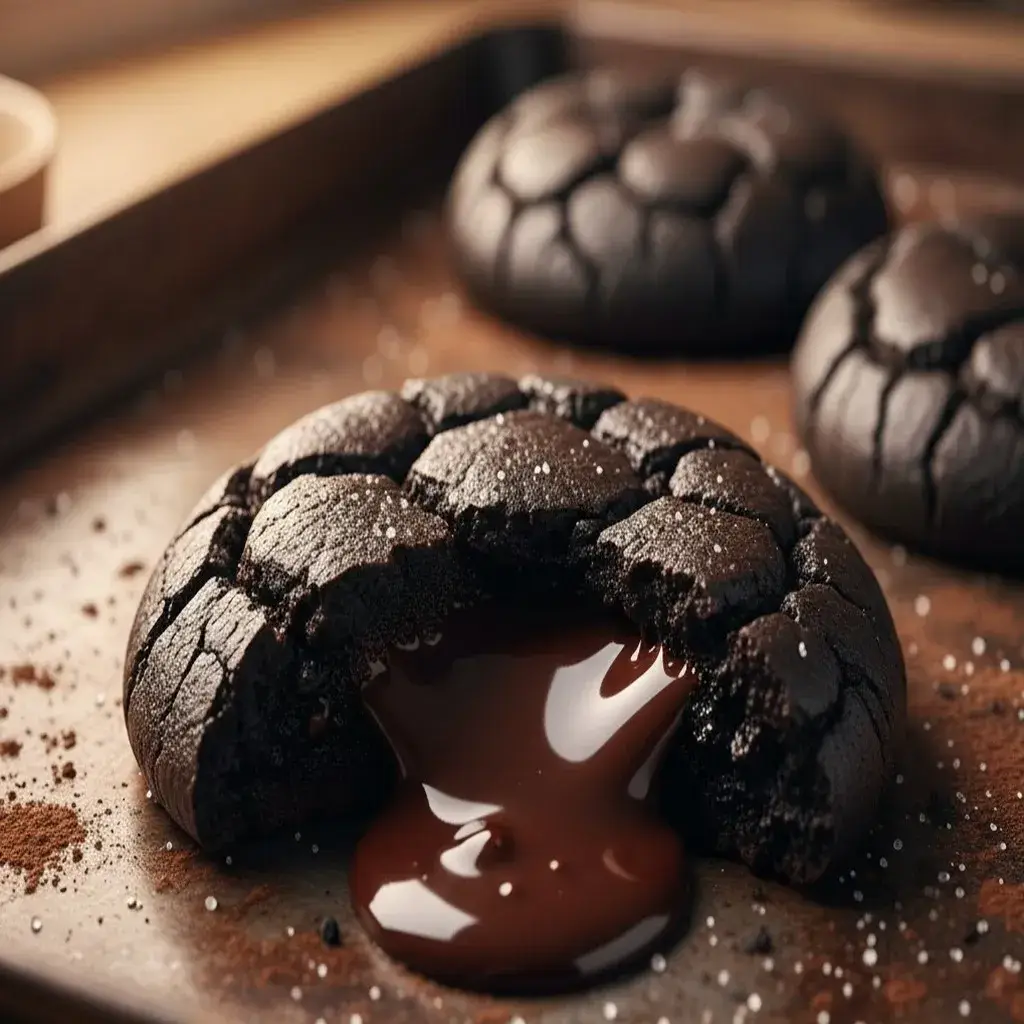
Imagine pulling a batch of warm, slightly cracked cookies from the oven. They look innocent enough, but then you break one open. A river of rich, molten chocolate lava cascades out, creating a puddle of pure bliss on your plate.
This is the magic of gooey lava cookies. They are the ultimate dessert for when you need a chocolate fix, fast. Even better, this recipe requires no chill time and comes together in one bowl in less than 30 minutes. Get ready to impress yourself.
WHY YOU NEED TO MAKE THESE GOOEY LAVA COOKIES IMMEDIATELY
You will fall in love with these gooey lava cookies for so many reasons.
- First, they deliver a stunning, restaurant-quality dessert with minimal effort and simple ingredients.
- Next, the textural contrast is unbelievable; you get a soft, cake-like cookie exterior that gives way to a warm, liquid chocolate center.
- Furthermore, they are incredibly versatile. You can use different types of chocolate filling to customize them to your taste.
- Ultimately, they are the perfect “emergency dessert” for unexpected guests or a late-night craving.
GOOEY LAVA COOKIES
- Total Time: 30 minutes
- Yield: 10 large cookies 1x
- Diet: Vegetarian
Description
Soft, chewy chocolate cookies with molten centers that ooze rich chocolate with every bite perfect for chocoholics and dessert lovers alike.
Ingredients
- 1 cup (225g) unsalted butter, melted
- 1 cup (200g) brown sugar
- 1/2 cup (100g) granulated sugar
- 2 large eggs
- 2 tsp vanilla extract
- 2 cups (250g) all-purpose flour
- 1/2 cup (60g) unsweetened cocoa powder
- 1 tsp baking soda
- 1/2 tsp salt
- 1 cup (180g) chocolate chips
- 8–10 chocolate truffles or chocolate chunks for centers
Instructions
- 1. Preheat oven to 350°F (175°C). Line a baking sheet with parchment paper.
- 2. In a large bowl, whisk together melted butter, brown sugar, and granulated sugar until smooth.
- 3. Add eggs and vanilla extract, whisking until fully incorporated.
- 4. In another bowl, whisk together flour, cocoa powder, baking soda, and salt.
- 5. Gradually add dry ingredients to the wet mixture, stirring until a thick dough forms.
- 6. Fold in chocolate chips.
- 7. Scoop 2 tablespoons of dough and flatten slightly. Place a chocolate truffle or chunk in the center, then cover with another tablespoon of dough and seal edges.
- 8. Arrange on the baking sheet, leaving space between cookies.
- 9. Bake for 9–11 minutes, until edges are set but centers look slightly underbaked.
- 10. Cool on the tray for 5 minutes, then transfer to a wire rack. Serve warm for gooey centers.
Notes
- Chill the dough for 15 minutes before baking if it’s too soft.
- Use high-quality chocolate for the best lava effect.
- Reheat leftover cookies in the microwave for 10 seconds to revive the molten center.
- Prep Time: 20 minutes
- Cook Time: 10 minutes
- Category: Dessert
- Method: Baking
- Cuisine: American
Nutrition
- Serving Size: 1 cookie
- Calories: 320
- Sugar: 28g
- Sodium: 150mg
- Fat: 16g
- Saturated Fat: 9g
- Unsaturated Fat: 6g
- Trans Fat: 0g
- Carbohydrates: 42g
- Fiber: 2g
- Protein: 4g
- Cholesterol: 50mg
Keywords: chocolate cookies, lava cookies, molten dessert, gooey chocolate
GATHERING YOUR CHOCOLATEY INGREDIENTS
The beauty of this gooey lava cookies recipe lies in its simplicity. You likely have most of these items in your pantry right now.
For the Cookie Dough:
- All-Purpose Flour: Provides the structure for our cookies.
- Unsalted Butter: Melted butter gives these cookies a chewy, dense texture perfect for holding the lava center.
- Light Brown Sugar & Granulated Sugar: The combination creates a chewy texture and deep caramel notes.
- A Large Egg: Binds the dough together.
- Vanilla Extract: Adds essential warmth and flavor.
- Cocoa Powder: Use unsweetened cocoa powder for that deep chocolate flavor.
- Baking Soda & Salt: Leavening and flavor balance.
For the Molten Lava Center:
- Chocolate Truffles or Squares: This is the secret! Use high-quality chocolate truffles (like Lindt balls) or even plain Hershey’s Kisses. The pre-formed chocolate is key to the perfect lava flow.
YOUR MINIMAL BAKING TOOLS
You truly don’t need much. A large mixing bowl, a whisk, a spatula, a baking sheet, and parchment paper are the main essentials. A cookie scoop is helpful for portioning but not required.
THE FOOLPROOF PROCESS FOR PERFECT GOOEY LAVA COOKIES
Follow these gooey lava cookies steps closely for guaranteed molten centers every single time.
Combine Your Wet Ingredients
Start by preheating your oven to 350°F (175°C). Then, in a large bowl, whisk together the melted butter and both sugars until they are well combined. Next, beat in the egg and vanilla extract until the mixture becomes smooth and glossy.
Create the Chocolate Dough
Now, sift in the flour, cocoa powder, baking soda, and salt. Use a spatula to fold the dry ingredients into the wet ingredients. Mix just until no dry streaks remain. Be careful not to overmix; a thick, sticky dough will form.
The Secret Step: Hiding the Lava
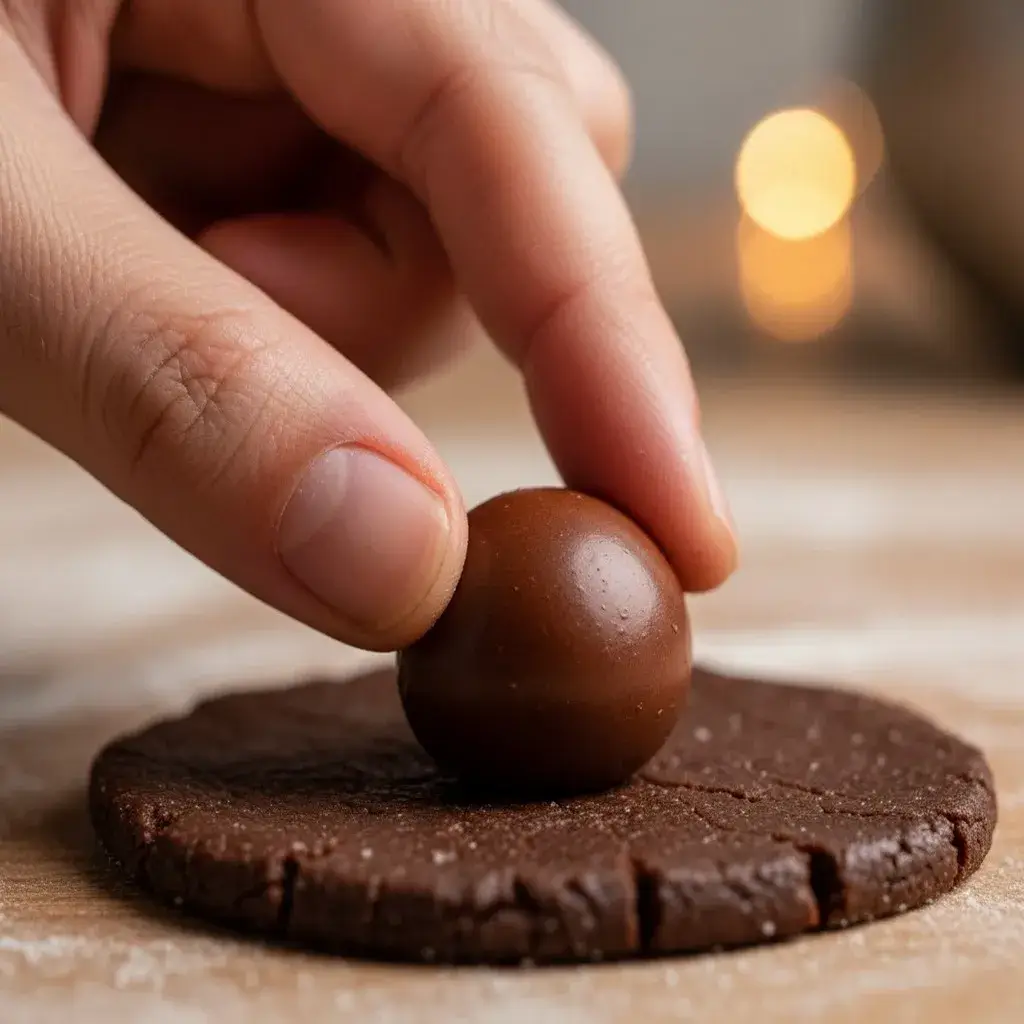
This is where the magic happens. Take a portion of dough (about 1.5 tablespoons) and flatten it slightly in your palm. Place one chocolate truffle in the center. Then, carefully wrap the dough around the truffle, sealing it completely. Roll it into a smooth ball, ensuring there are no cracks for the chocolate to escape. Place the sealed dough ball onto your parchment-lined baking sheet. Repeat with the remaining dough, leaving about 2 inches between each cookie.
Bake to Gooey Perfection
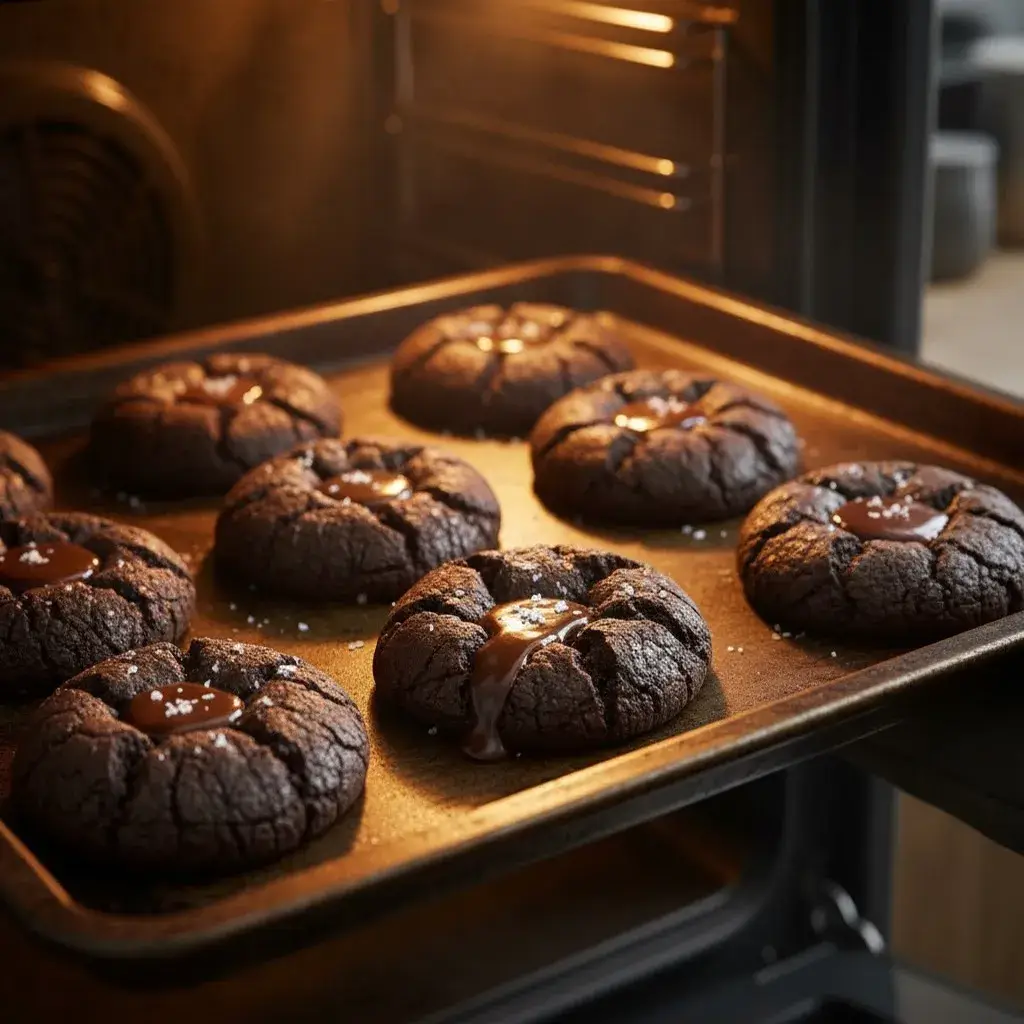
Bake the cookies for 10-12 minutes. The key here is to slightly underbake them. The tops should be set and look crackly, but the centers will still be very soft to the touch. Do not overbake, or the lava center will turn into a regular chocolate chip. Let them cool on the baking sheet for 5 full minutes before attempting to move them. This allows them to set.
THE ONE PRO TIP YOU CAN’T SKIP
The single most important tip for achieving that iconic lava flow is to use cold chocolate truffles straight from the fridge. The cold center takes longer to melt, preventing it from fully baking and solidifying inside the hot cookie dough. This simple trick is the difference between a good cookie and an unforgettable, gooey lava cookie.
FLAVOR TWISTS TO TRY TONIGHT
Do not be afraid to get creative with your gooey lava cookies. For a salted caramel delight, use a Rolo candy instead of a plain chocolate truffle. Alternatively, add a hint of orange by placing a small piece of orange zest inside the dough with the chocolate. For a peanut butter paradise, use a peanut butter cup as your molten center.
STORING AND REHEATING YOUR GOOEY LAVA COOKIES
These gooey lava cookies are truly best served warm, right out of the oven. However, you can store cooled cookies in an airtight container at room temperature for 2 days. To reheat and bring back the lava, microwave a cookie for 10-15 seconds until warm. The center will become gooey again.
TROUBLESHOOTING YOUR MOLTEN MASTERPIECE
My lava center baked solid.
This means the cookies baked for too long, or your oven temperature was too low. Try reducing the bake time by a minute or two and ensure your oven is fully preheated.
My chocolate lava leaked out everywhere.
This means the dough ball wasn’t sealed completely. Make sure the chocolate is fully enclosed with no cracks or thin spots in the dough.
My cookies are too cakey.
This can happen if you over-mixed the dough or measured the flour incorrectly. Gently fold the ingredients together and use the spoon-and-level method for measuring flour.
HOW TO SERVE THESE DECADENT GOOEY LAVA COOKIES
Serve these gooey lava cookies warm, ideally with a cold glass of milk. For an over-the-top dessert, place one in a bowl and top it with a scoop of vanilla ice cream. The contrast of hot and cold is absolutely divine. A light dusting of powdered sugar or a sprinkle of flaky sea salt on top also elevates them beautifully.
THE STORY BEHIND MY CHOCOLATE OBSESSION
I first discovered the joy of a molten dessert with the classic lava cake, but I always wished it were more portable. One rainy afternoon, I decided to experiment, stuffing my favorite chocolate cookie dough with a cold truffle. The result was pure magic.
Now, these gooey lava cookies are my go-to for bake sales, potlucks, and comforting a bad day. They never, ever fail to bring a smile.
GOOEY LAVA COOKIES FAQS
What creates the lava in lava cookies?
The “lava” is created by placing a solid piece of high-quality chocolate inside the raw cookie dough. As it bakes, the outside of the cookie sets while the inside of the chocolate piece melts, creating a liquid center.
Can I use chocolate chips instead?
Regular chocolate chips are designed to hold their shape and won’t create the same lava flow. A solid chocolate piece or a truffle is essential for the right effect.
How do I know when they are done?
The cookies are done when the edges are set and the tops are crackly. The center will still look very soft, but that is what you want! They will continue to set as they cool on the baking sheet.
YOUR FINAL BAKING CHECKLIST
Before you start, quickly confirm:
- Is your oven preheated to 350°F (175°C)? Is your baking sheet lined with parchment paper?
- Are your chocolate truffles cold from the fridge?
- Is your butter melted and slightly cooled?
- Finally, do you have a glass of milk ready for serving?

