

Your holiday dessert table is about to get a whole lot cuter and easier! Just imagine: classic, buttery Grinch Rice Krispie Treats, transformed into adorable, festive bites with a mischievous Grinch-inspired twist. They’re perfectly sweet, delightfully chewy, and have that iconic red and green color that just screams Christmas cheer.
Best of all, these no-bake treats are incredibly simple to make, requiring just a few ingredients and absolutely zero fuss. They are the perfect project to make with little helpers in the kitchen and are guaranteed to be the star of your cookie exchange or Christmas Eve party.
WHY YOU’LL FALL IN LOVE WITH THESE GRINCH BITES
Let me count the ways you’ll adore this Grinch Rice Krispie recipe!
- First and foremost, they are unbelievably easy. With no oven required, you can whip up a batch in under 20 minutes, which is a lifesaver during the busy holiday season.
- Furthermore, they are a fantastic make-ahead treat. You can prepare them days before your event, freeing up your precious time.
- Moreover, they are endlessly customizable. Don’t have a specific candy? No problem! Use what you have.
- Finally, their sheer cuteness factor is off the charts. These little green bites with their red hearts are pure, edible joy that will bring a smile to everyone’s face.

Grinch Rice Krispie Treat Bites: The Most Adorable Holiday Snack
- Total Time: 20 minutes
- Yield: 24 bites 1x
- Diet: Vegetarian
Description
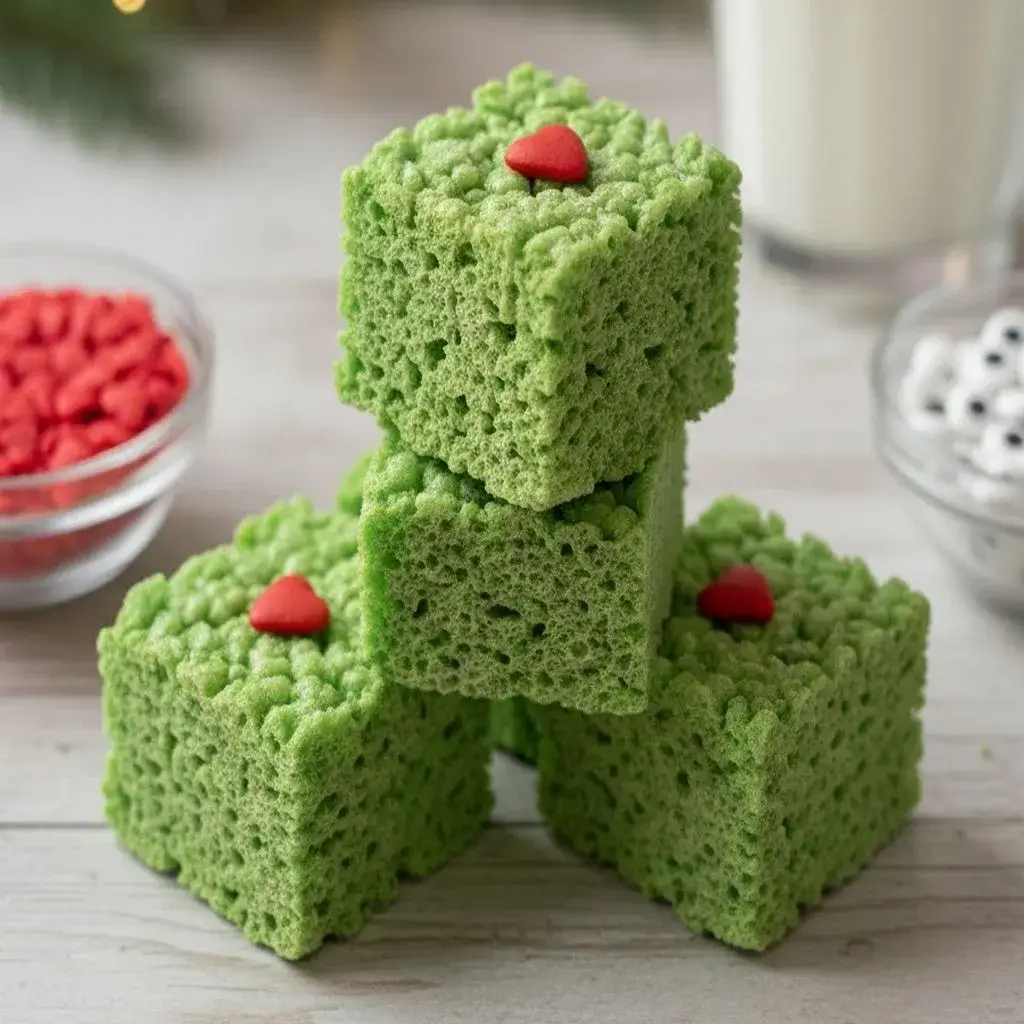
Festive bite-sized Rice Krispie treats tinted Grinch-green and topped with a single red heart, the perfect easy holiday treat.
Ingredients
- 3 tbsp unsalted butter
- 1 (10 oz) bag mini marshmallows
- Green food coloring
- 1/2 tsp vanilla extract
- 6 cups Rice Krispies cereal
- Red heart sprinkles or candies
- Nonstick spray or butter for your hands
Instructions
- 1. Line a baking sheet with parchment paper.
- 2. In a large pot, melt butter over low heat.
- 3. Add mini marshmallows and stir until fully melted and smooth.
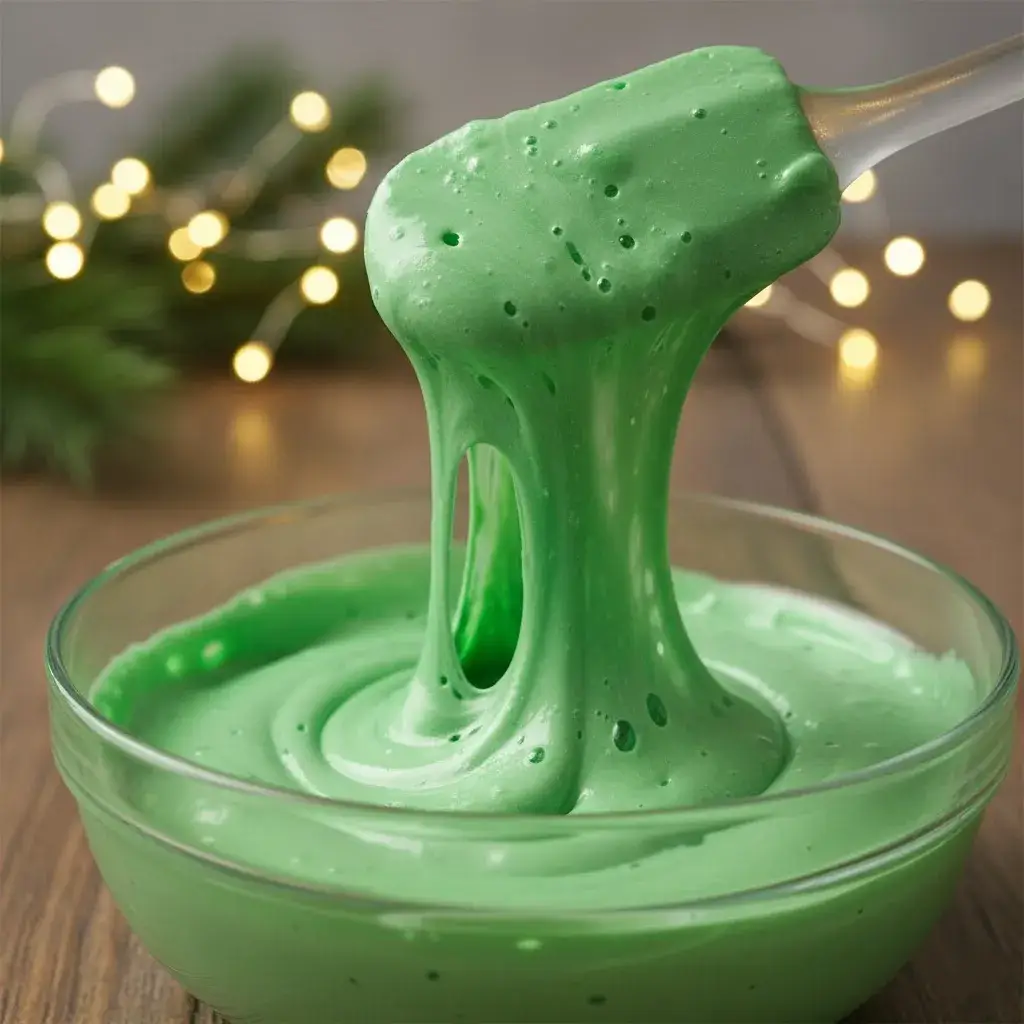
- 4. Remove from heat and stir in vanilla extract and several drops of green food coloring until the mixture reaches a bright Grinch-green shade.
- 5. Quickly fold in the Rice Krispies cereal until fully coated.
- 6. Let the mixture cool for 1–2 minutes, then lightly grease your hands.
- 7. Scoop small portions and roll into bite-sized balls, placing them onto the baking sheet.
- 8. Press one red heart sprinkle onto each treat while still warm and sticky.
- 9. Allow treats to set for 20–30 minutes before serving.
Notes
- If the mixture becomes too sticky to handle, lightly grease your hands again.
- Store in an airtight container at room temperature for up to 3 days.
- For extra flavor, add a pinch of salt or use vanilla bean paste.
- Prep Time: 10 minutes
- Cook Time: 10 minutes
- Category: Dessert
- Method: No-Bake
- Cuisine: American
Nutrition
- Serving Size: 1 bite
- Calories: 70
- Sugar: 6g
- Sodium: 55mg
- Fat: 2g
- Saturated Fat: 1g
- Unsaturated Fat: 1g
- Trans Fat: 0g
- Carbohydrates: 12g
- Fiber: 0g
- Protein: 1g
- Cholesterol: 5mg
Keywords: grinch treats, rice krispie bites, holiday treats, christmas snacks
WHAT YOU’LL NEED: THE SIMPLE INGREDIENT LIST
The magic of these Grinch Rice Krispie treat lies in their simplicity. Here’s everything you need to create these festive delights.
For the Rice Krispie Base:
- Unsalted Butter: 3 tablespoons. Butter gives that rich, classic flavor we all love.
- Mini Marshmallows: 1 (10-ounce) bag. Using mini marshmallows helps them melt faster and more evenly.
- Green Gel Food Coloring: A few drops to get that perfect “Grinch green” hue. Gel is better than liquid as it won’t alter the texture.
- Rice Krispies Cereal: 6 cups. This is the star that provides the iconic crispy, chewy texture.
- Vanilla Extract: 1/2 teaspoon (optional, but it adds a lovely depth of flavor).
For the Decorations:
- Red Heart Sprinkles: Also called “confetti sprinkles.” These are for the classic Grinch heart.
- Mini M&Ms (Red): A great alternative if you can’t find heart sprinkles.
- Small Candy Eyes: These are optional but add an extra layer of adorable character.
THE ONLY TOOLS YOU’LL NEED
You don’t need any fancy equipment for this Grinch Rice Krispie recipe! A large, microwave-safe bowl, a sturdy spatula, and a 9×9-inch baking pan are the essentials. Parchment paper is highly recommended for easy removal and cleanup. You might also want a small saucepan if you prefer to melt the marshmallows on the stovetop.
HOW TO MAKE GRINCH RICE KRISPIE TREAT BITES: STEP-BY-STEP
Follow these simple steps for perfect, no-fuss treats every single time.
MELT THE BUTTER AND MARSHMALLOWS
First, place the butter and the entire bag of mini marshmallows in your large microwave-safe bowl. Heat them in the microwave on high for 1 minute. Remove the bowl carefully (it will be hot!) and stir. Continue heating in 30-second intervals, stirring after each, until the mixture is completely smooth and melted.
COLOR IT GRINCH GREEN
This is the fun part! Immediately after the marshmallow mixture is smooth, add several drops of green gel food coloring and the vanilla extract (if using). Stir vigorously until the color is fully incorporated and you have a vibrant, uniform green. Don’t be shy with the color you want it to be distinctly Grinchy!
FOLD IN THE CEREAL
Now, quickly add the 6 cups of Rice Krispies cereal to the green marshmallow mixture. Using a greased spatula, gently fold until every single piece of cereal is thoroughly coated in the sticky, green goodness. Work efficiently before the marshmallow begins to set.
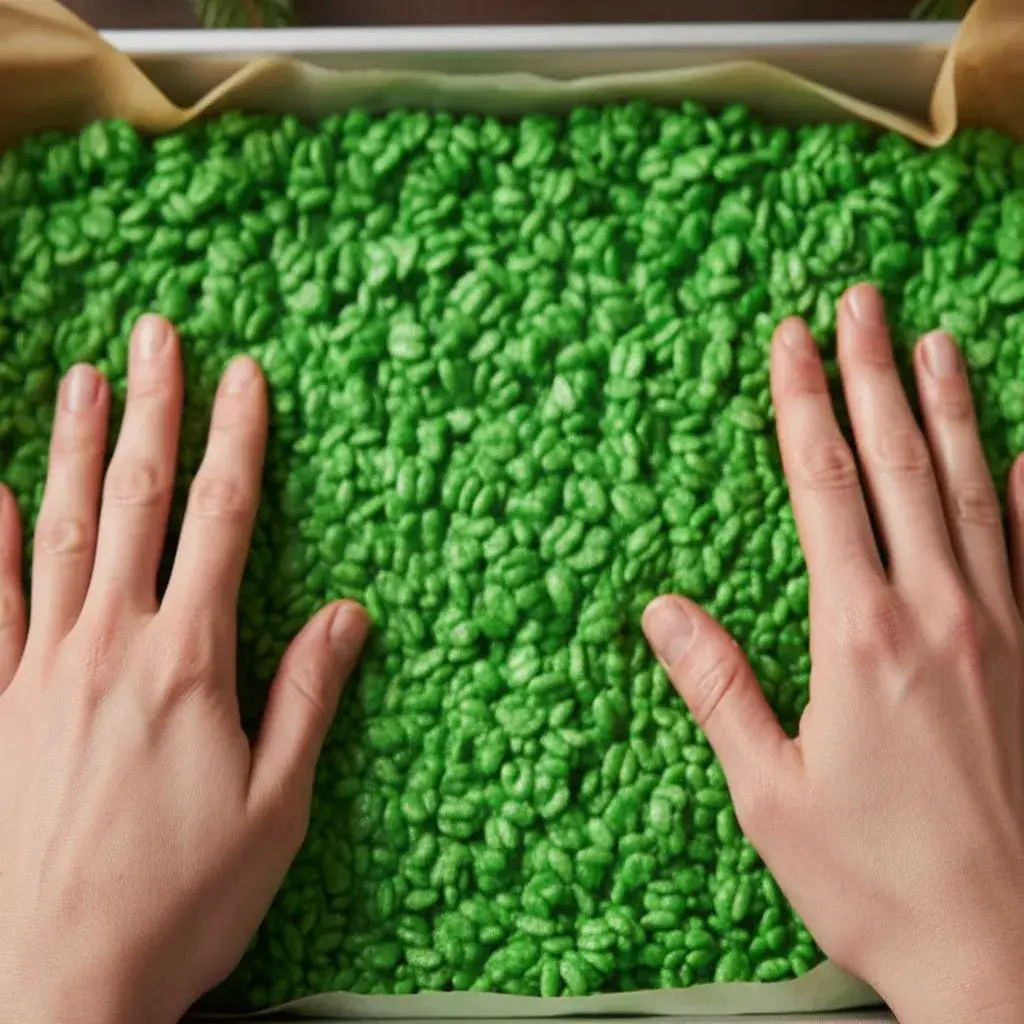
PRESS AND COOL
Transfer the mixture into your parchment-lined 9×9 inch baking pan. Lightly grease your hands with butter or cooking spray and press the mixture firmly and evenly into the pan. Don’t press too hard, or your treats will become tough; just press enough so the mixture holds together.
CUT AND DECORATE
Allow the treats to cool completely at room temperature for at least an hour. Once cool and set, use a sharp knife to cut them into small, bite-sized squares. Now, for the final touch: press one red heart sprinkle onto the top of each square. If you’re using candy eyes, add two of those just above the heart to give your Grinch bites a playful face!

TIPS FOR PERFECT GRINCH BITES EVERY TIME
For the cleanest cuts, lightly grease your knife with cooking spray before slicing. If your marshmallow mixture starts to harden while you’re mixing in the cereal, you can pop the entire bowl back in the microwave for 15-20 seconds to loosen it up. To prevent sticky hands when pressing the mixture into the pan, definitely use that butter or cooking spray on your hands!
FUN VARIATIONS TO TRY
Grinch Poppers: Instead of squares, roll the mixture into small balls for a “pop-able” treat.
White Chocolate Drizzle: Melt white chocolate and drizzle it over the top for a festive, snowy effect.
Peppermint Twist: Add 1/4 teaspoon of peppermint extract along with the vanilla for a cool, minty flavor.
STORING YOUR FESTIVE TREATS
Store your Grinch Rice Krispie Treat Bites in an airtight container at room temperature. They will stay fresh and delicious for up to 3 days. For longer storage, you can freeze them for up to a month. Separate layers with parchment paper to prevent sticking.
TROUBLESHOOTING: COMMON QUESTIONS
My treats are too hard. This usually means the marshmallows were overheated or the mixture was packed too firmly into the pan.
My treats are too soft and fall apart. This is likely because you didn’t use enough marshmallows or the mixture wasn’t pressed together firmly enough.
The food coloring isn’t mixing in well. Make sure you are using a gel food coloring, as liquid can make the marshmallow mixture seize up.
SERVING SUGGESTIONS
Arrange these cute bites on a festive platter as part of your holiday dessert spread. They pair wonderfully with a cup of hot cocoa or coffee. They also make wonderfully festive gifts when packaged in a cute cellophane bag with a ribbon!
A SWEET HOLIDAY TRADITION
I started making these Grinch Rice Krispie Treat Bites a few years ago for my daughter’s school party, and they were such a hit that they’ve become a non-negotiable part of our Christmas routine. There’s something so joyful about creating a treat that’s both delicious and full of festive spirit. I hope they bring as much happiness to your home as they have to mine.
FINAL CHECKLIST BEFORE YOU START
- Parchment paper is lining your baking pan.
- Butter and marshmallows are measured and ready.
- Green food coloring and red sprinkles are within reach.
- Your spatula is lightly greased.
GRINCH RICE KRISPIE TREAT BITES FAQS
Can I make these Grinch Rice Krispie gluten-free?
Yes! Simply ensure you use a certified gluten-free crispy rice cereal. Many brands are naturally gluten-free, but always check the label.
Can I use large marshmallows instead of mini?
Absolutely. You will need about 40 large marshmallows, and they may just take a little longer to melt completely.
How far in advance can I make these Grinch Rice Krispie?
You can make them 2-3 days in advance. Store them in an airtight container to keep them from drying out.
My marshmallow mixture is super sticky. Help!
This is normal! Lightly greasing your spatula and your hands with butter or cooking spray is the best trick to manage the stickiness.