
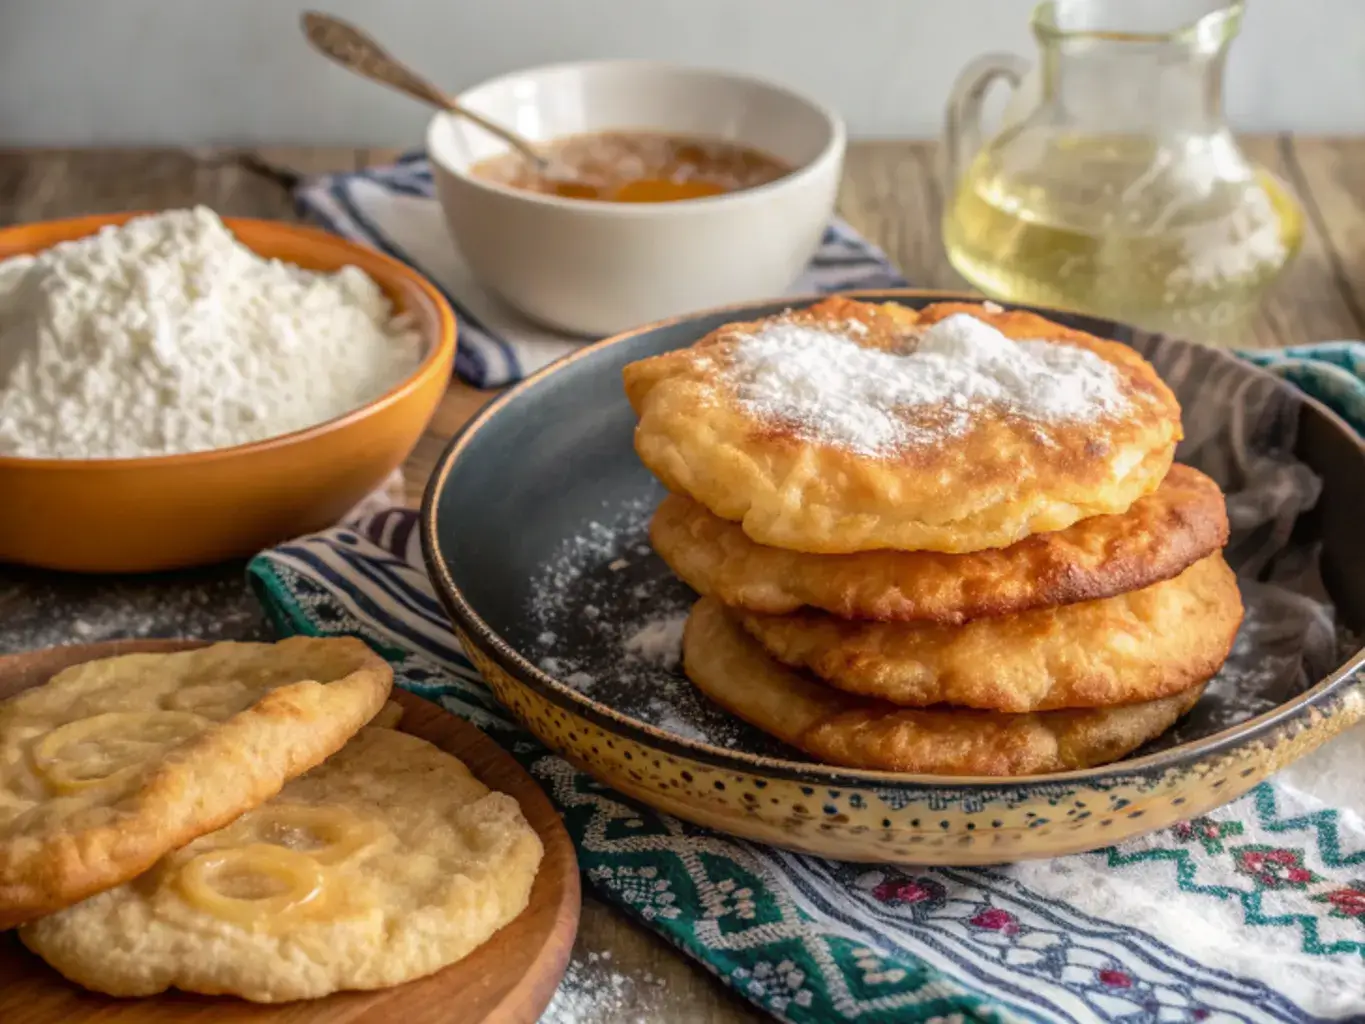
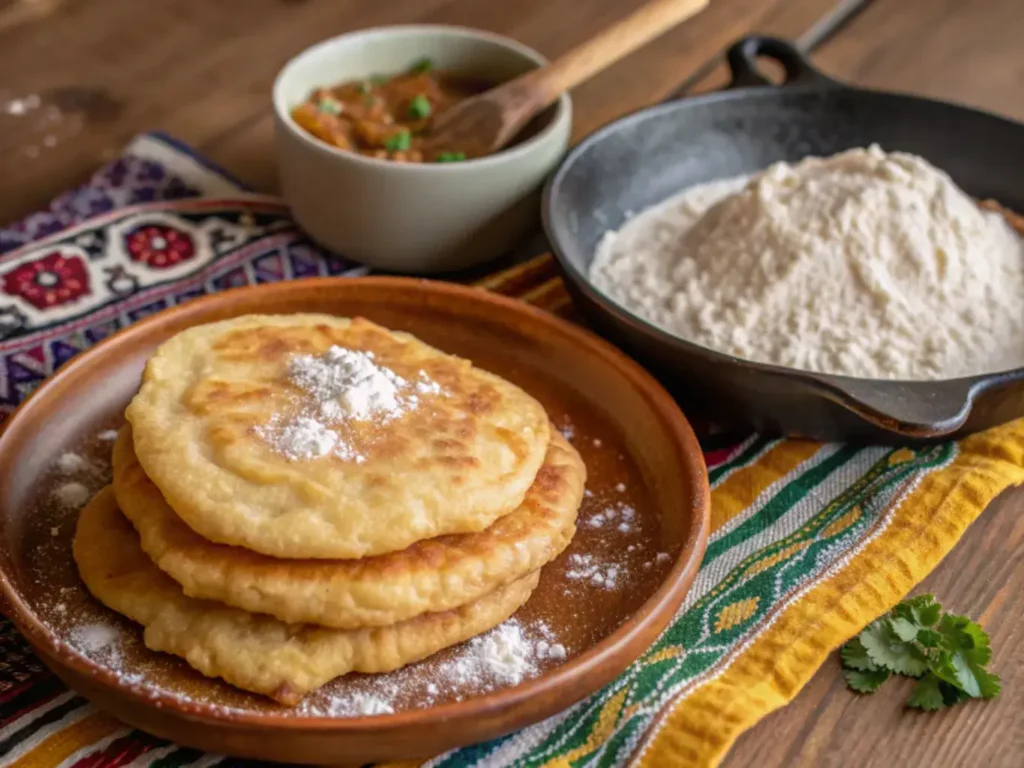
Navajo Fry Bread Recipe is a simple, satisfying treat. It combines warm batter, hot oil, and a bit of care. You’ll end up with puffy golden rounds you can dress sweet or savory.
This Navajo fry bread recipe is quick, forgiving, and full of character. Let me walk you through it with friendly tips so your first batch comes out just right.
WHY YOU’LL LOVE THIS NAVAJO FRY BREAD RECIPE
You will adore this Navajo fry bread recipe because it is wonderfully forgiving and incredibly versatile.
- Only a few ingredients, most of them common in your pantry
- Ready in under 30 minutes
- Versatile works sweet or savory
- Crisp outside, tender inside
- Impressive for guests though it feels homey
Navajo Fry Bread Recipe: 5 Easy Steps You’ll Love
- Total Time: 1 hour
- Yield: 8 pieces 1x
- Diet: Vegetarian
Description
Traditional Navajo Fry Bread soft, chewy, and golden fried bread that can be served sweet with honey or savory as the base for tacos.
Ingredients
- 3 cups all-purpose flour
- 1 tbsp baking powder
- 1 tsp salt
- 1 1/2 cups warm water
- Vegetable oil, for frying
Instructions
- 1. In a large bowl, whisk together flour, baking powder, and salt.
- 2. Gradually add warm water, mixing until a soft dough forms.
- 3. Knead dough lightly on a floured surface until smooth, about 3–4 minutes.
- 4. Cover and let rest for 30 minutes.
- 5. Divide dough into 8 equal pieces and shape into balls. Flatten each into a disk about 1/4 inch thick.
- 6. Heat 1–2 inches of vegetable oil in a deep skillet to 350°F (175°C).
- 7. Fry each piece of dough one at a time until golden brown and puffed, about 2 minutes per side.
- 8. Drain on paper towels and serve warm.
Notes
- For a sweet version, drizzle with honey, powdered sugar, or cinnamon sugar.
- For a savory version, top with seasoned beef, beans, lettuce, and cheese to make Navajo tacos.
- Best enjoyed fresh, but you can keep leftovers wrapped in foil and reheat in the oven.
- Prep Time: 10 minutes
- Cook Time: 20 minutes
- Category: Bread
- Method: Frying
- Cuisine: Native American
Nutrition
- Serving Size: 1 piece
- Calories: 210
- Sugar: 0g
- Sodium: 220mg
- Fat: 8g
- Saturated Fat: 1g
- Unsaturated Fat: 6g
- Trans Fat: 0g
- Carbohydrates: 30g
- Fiber: 1g
- Protein: 5g
- Cholesterol: 0mg
Keywords: navajo fry bread, native american bread, tacos
HOW TO MAKE NAVAJO FRY BREAD
This process is straightforward, but a few key tips ensure success every single time.
INGREDIENTS
- 2 cups all-purpose flour
- 1 tablespoon baking powder
- 1 teaspoon salt
- ~1 cup warm water (adjust as needed)
- Oil for frying (vegetable or neutral)
Optional toppings or mix-ins:
- Honey, powdered sugar, cinnamon
- Beans, cheese, lettuce, tomato, meat
- Fresh fruit, yogurt
DIRECTIONS
Step 1: Combine Dry Ingredients
- Action: In a clean mixing bowl, whisk together the flour, baking powder, and salt.
- Detail: Ensure the baking powder and salt are evenly distributed throughout the flour. This prevents uneven leavening or seasoning in your final bread.
- Why it matters: Whisking aerates the flour and guarantees that the leavening agent (baking powder) is mixed uniformly, which is essential for a consistent, even puff.
Step 2: Form the Dough
- Action: Slowly add the warm water to the dry ingredients while stirring continuously.
- Detail: Continue stirring until a soft, shaggy dough comes together. The dough should be slightly sticky to the touch.
- Why it matters: Adding the water slowly prevents dry pockets of flour. A slightly sticky dough ensures the final product remains tender and soft.
Step 3: Rest the Dough
- Action: Cover the bowl with a clean kitchen towel or plastic wrap and let the dough rest for about 10 minutes.
- Detail: This is a crucial resting period, not a rising period. The dough will relax and become smoother.
- Why it matters: Resting allows the flour to fully hydrate and the gluten strands to relax. This makes the dough much easier to roll out without springing back.
Step 4: Portion the Dough
- Action: After resting, divide the dough into equal-sized pieces, roughly the size of a golf ball.
- Detail: You should get about 8-10 pieces from a standard recipe. Keeping them uniform in size ensures they cook at the same rate.
- Why it matters: Consistent sizing is key to even cooking and a professional appearance.
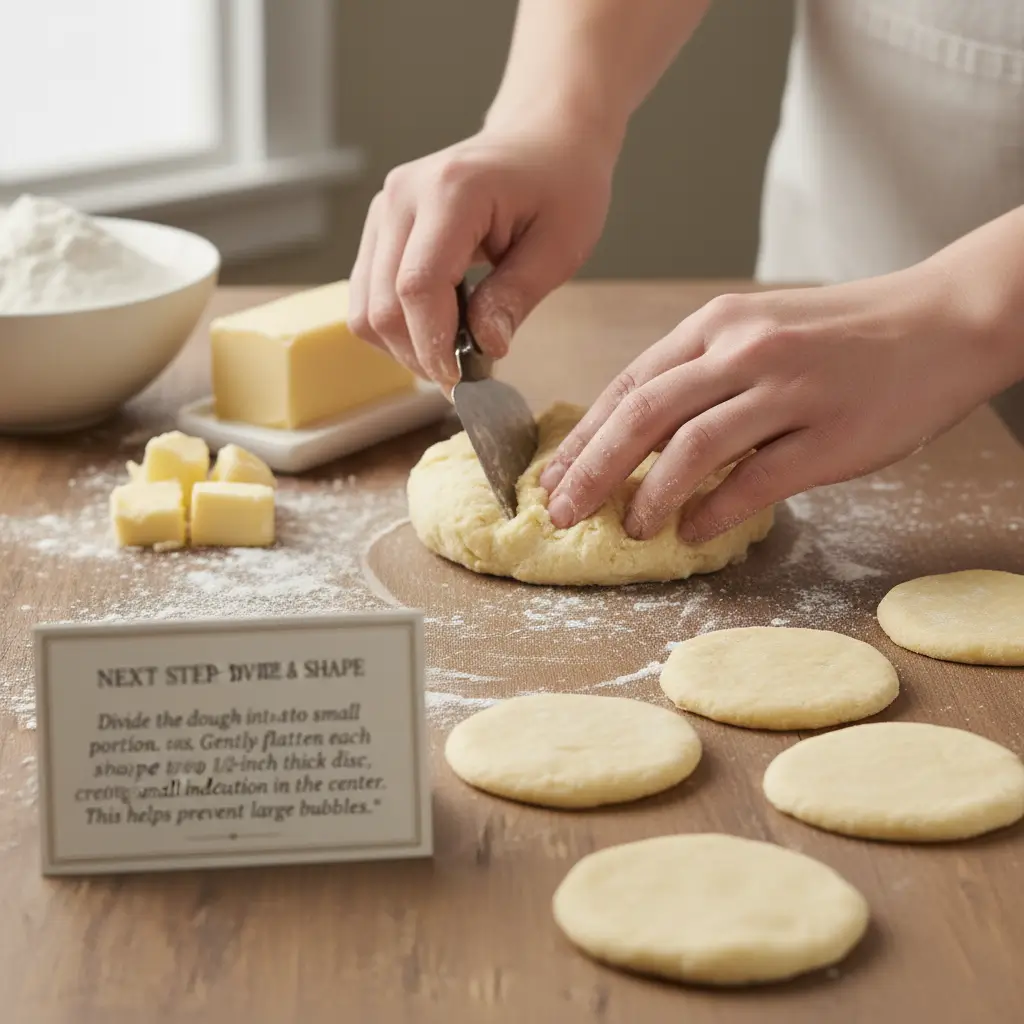
Step 5: Shape the Dough
- Action: On a lightly floured surface, use a rolling pin or your hands to flatten each ball into a circle approximately 5-6 inches in diameter.
- Detail: Don’t worry about perfect circles; rustic is fine! Just ensure they are of even thickness to avoid uneven frying.
- Why it matters: An even thickness ensures the bread puffs uniformly and cooks through without some parts being doughy or burnt.
Step 6: Heat the Oil
- Action: Pour oil into a deep skillet or pot to a depth of about 1.5-2 inches. Heat over medium heat until it reaches 350°F (175-180°C).
- Detail: Use a cooking thermometer for accuracy. If you don’t have one, test the oil by dropping a small piece of dough in; it should sizzle actively and rise to the surface without burning immediately.
- Why it matters: The correct oil temperature is critical. Too hot, and the outside will burn before the inside cooks. Too cool, and the bread will absorb excess oil and become greasy.
Step 7: Fry the Bread
- Action: Gently slide one flattened dough circle into the hot oil. It will sink and then immediately begin to puff up.
- Detail: Fry for about 20-30 seconds until the bottom is golden brown and puffed. The oil should be actively bubbling around it.
- Why it matters: Frying one at a time maintains the oil temperature, ensuring each piece cooks perfectly.
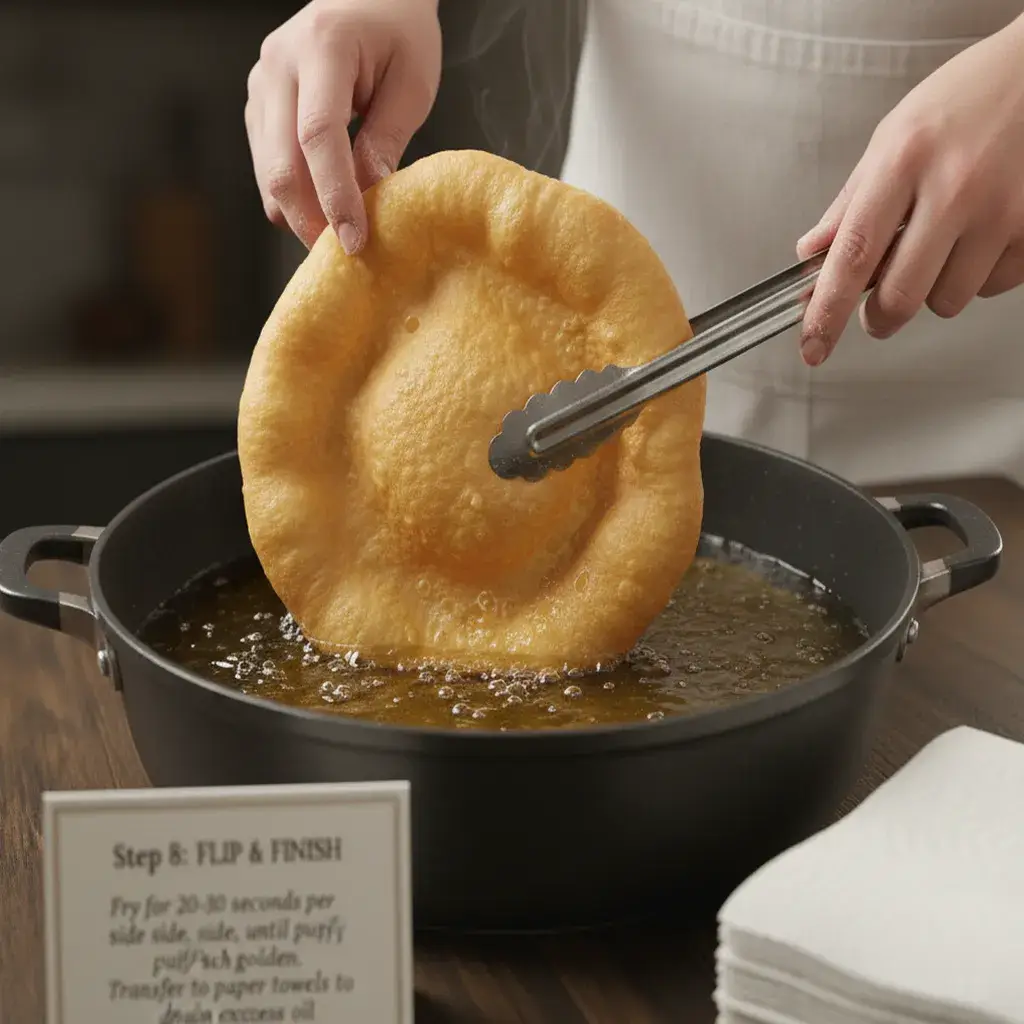
Step 8: Flip and Finish Frying
- Action: Using tongs or a slotted spoon, carefully flip the bread over.
- Detail: Fry the second side for another 20-30 seconds until it is also golden brown and the bread is fully puffed.
- Why it matters: Flipping ensures even cooking and color on both sides.
Step 9: Drain Excess Oil
- Action: Once golden on both sides, carefully remove the bread from the oil and transfer it to a plate lined with paper towels.
- Detail: Let the excess oil drain off for a minute.
- Why it matters: Draining on paper towels removes surface grease, resulting in a lighter, less oily final product.
Step 10: Repeat and Serve
- Action: Continue the process with the remaining dough pieces, adjusting the heat as needed to maintain the 350°F temperature.
- Detail: Serve the bread warm for the best texture and flavor.
- Why it matters: Serving immediately ensures you enjoy them at their peak: crispy on the outside, soft and airy on the inside.
IS A NUTRITION HERO NAVAJO FRY BREAD
Navajo fry bread gives you energy from carbs and fat. It contains protein in small amounts from the flour. It’s not “health food,” but in moderation, it can fit into a balanced diet.
GREAT FOR WEIGHT MANAGEMENT
Because Navajo fry bread is fried, it is higher in calories. But you can:
- Use small portions
- Air-dry or blot oil well
- Use lean, healthy toppings (fresh veggies, lean beans, minimal cheese)
HOW TO CHOOSE AND STORE NAVAJO FRY BREAD
To choose good flour, pick unbleached, fresh (check expiry). Use fine texture.
Store your dough covered in the fridge if unused (for up to 24 hrs). After frying, let the bread cool then store in an airtight container for 1–2 days. Reheat in an oven to crisp it again.
EASY AND TASTY LOW-CAL NAVAJO FRY BREAD RECIPES
- Use whole-wheat flour (or blend half)
- Shallow fry instead of deep fry
- Use nonstick pan and less oil
- Top with salsa, fresh tomatoes, herbs instead of heavy cheese
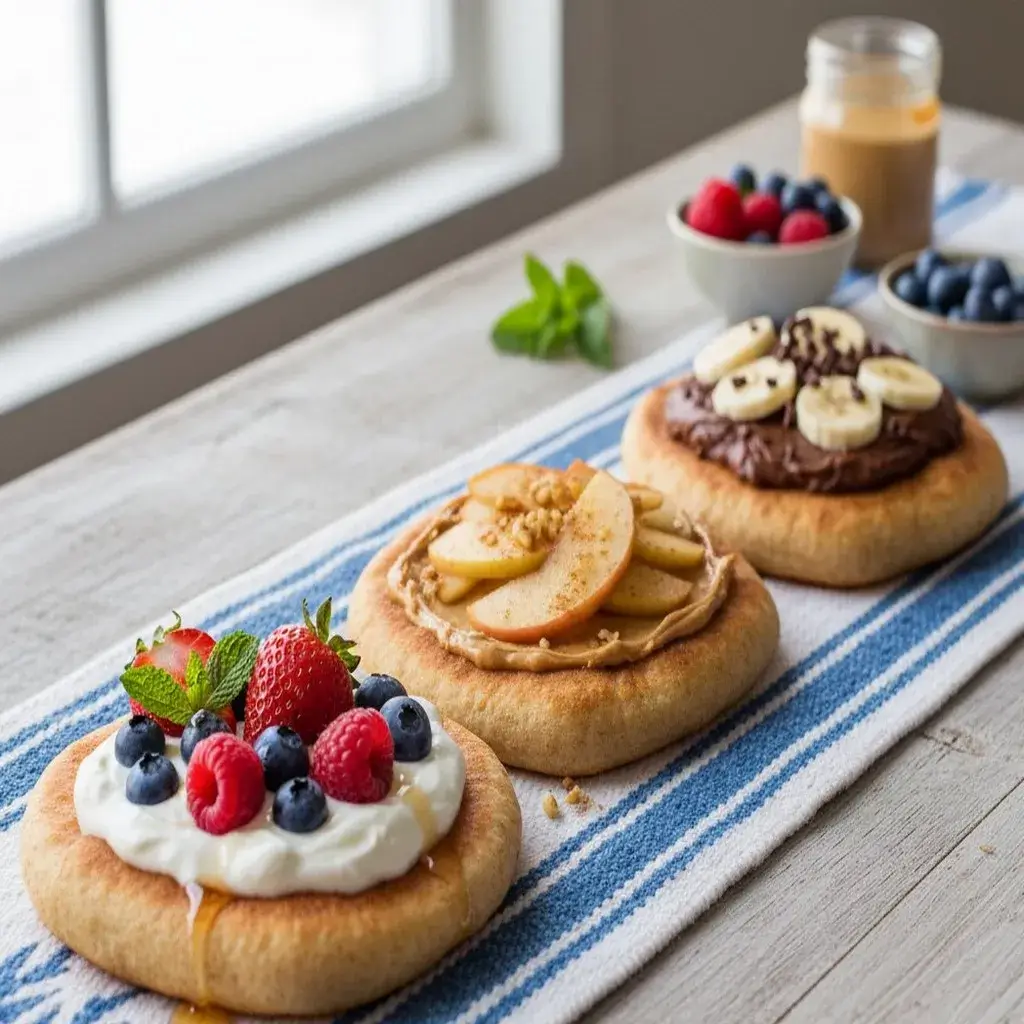
SWEET NAVAJO FRY BREAD TREATS—THE HEALTHY WAY
- Drizzle honey or maple syrup
- Sprinkle cinnamon + powdered sugar (lightly)
- Top with fresh berries and Greek yogurt
- Spread nut butter + banana slices
DON’T FORGET THE SEEDS!
Adding seeds can boost texture and nutrition. Try:
- Chia seeds (sprinkled on top)
- Sesame seeds (pressed into dough)
- Poppy seeds
They add fiber, healthy fats, and crunch.
TIPS AND NOTES: YOUR KITCHEN COMPANION
- Details: The temperature of your oil is crucial. If it’s too cool, the bread will absorb too much oil and become greasy. If it’s too hot, the outside will burn before the inside cooks through.
- Variation: For a delightful twist, try adding a teaspoon of dried herbs like oregano or rosemary to the dry ingredients for a savory version. For a sweet version, add a tablespoon of sugar to the dough and dust the finished bread with cinnamon sugar.
- Notes: You can use water instead of milk for a more traditional approach. The dough should be soft but not sticky. If it’s too sticky, add a little more flour. If it’s too dry, add a teaspoon more liquid.
TIPS TO MAKE NAVAJO FRY BREAD
- Keep oil at proper temp; too cool and bread absorbs oil
- Don’t overwork the dough; gentle handling gives a light texture
- Test oil with a small scrap of dough first
- Use a slotted spoon to turn bread
- Fry one at a time for control
HOW TO SERVE NAVAJO FRY BREAD
The possibilities are endless! For a legendary savory meal, create Indian Tacos by topping the Navajo fry bread with seasoned ground beef, shredded lettuce, diced tomatoes, cheese, and sour cream. For a simple and sweet treat, drizzle it with honey or powdered sugar. You can also use it as a base for beans and cheese or simply enjoy it plain, appreciating its wonderful, simple flavor.

HOW TO STORE NAVAJO FRY BREAD
Navajo Fry Bread is always best enjoyed fresh. However, you can store leftover cooled bread in an airtight container at room temperature for up to 2 days. Reheat it in a toaster oven or a regular oven at 350°F for a few minutes to bring back its crispness. Avoid microwaving, as it will make the bread soft and chewy.
NAVAJO FRY BREAD FAQs
Can I make the dough ahead of time?
Absolutely! You can prepare the dough, cover it tightly, and refrigerate it for up to 8 hours. Let it sit at room temperature for about 20 minutes before dividing and shaping.
My fry bread wasn’t puffy. What went wrong?
This is usually due to the oil temperature being too low or the dough being over-kneaded. Ensure your oil is hot enough (a dough tester should sizzle immediately) and knead the dough just until it’s smooth.
What is the best oil for frying?
A neutral oil with a high smoke point is best. Vegetable oil, canola oil, or peanut oil are all excellent choices.